February is for Goldwork

At the beginning of February I was excited to take a beginner goldwork class at an East Kingdom embroidery event. Not only did I have a handy stash of bits and bobs of goldwork supplies from various other classes I’d attempted to take and never quite managed to for a whole host of reasons, but it was another category in my sample collection! Win win all around.

Demonstration zoom classes are a challenge, there’s no two ways to put it. You are trying to have a good view of what the teacher is doing, and they are trying to have a good view of what you are doing, with only sketchy web cams to connect you (and often sketchier internet). The most effective demo classes I’ve attended have had a dedicated camera (often a phone camera on a tripod) aimed at the workspace and quite narrowly focused in, and then a completely separate camera aimed at the teacher (often their normal web cam, be that in their laptop, or an external one). Each camera is signed into the call separately and doesn’t move much during the class, so that you arent’ fussing with getting things to focus or making your students motion sick as you wriggle a camera around. If you can only have one, the close up camera is the important one, and a tripod (or other rigged up stable solution) means you do not have to rely on someone to hold it steady for upwards of an hour, which is a helluva long time to hold something steady. Showing the teacher where you’re having trouble is still a challenge and requires a lot of description, guesswork and holding things up to questionable web cams, but by and large the pack of us seem to manage. Mostly.

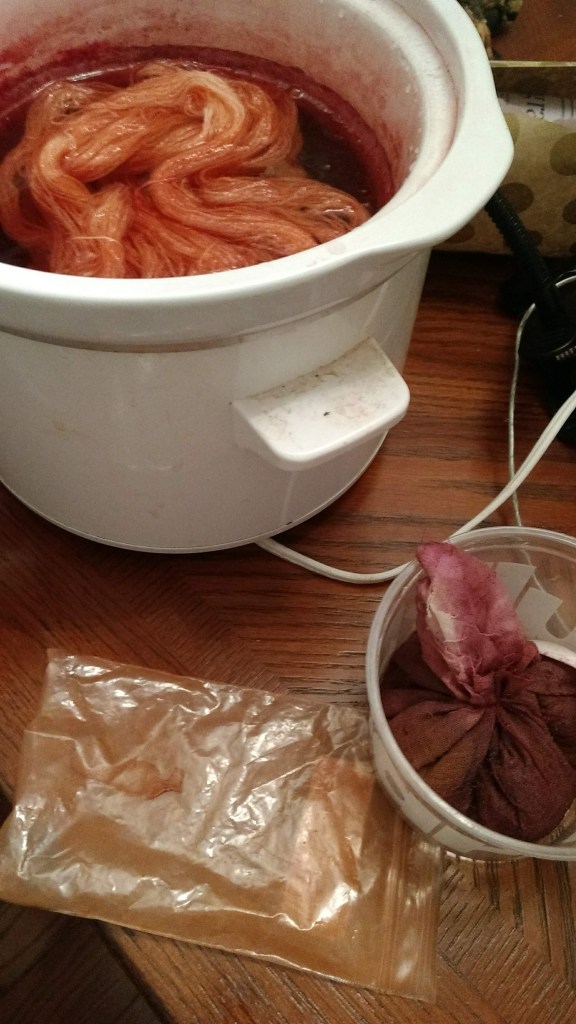
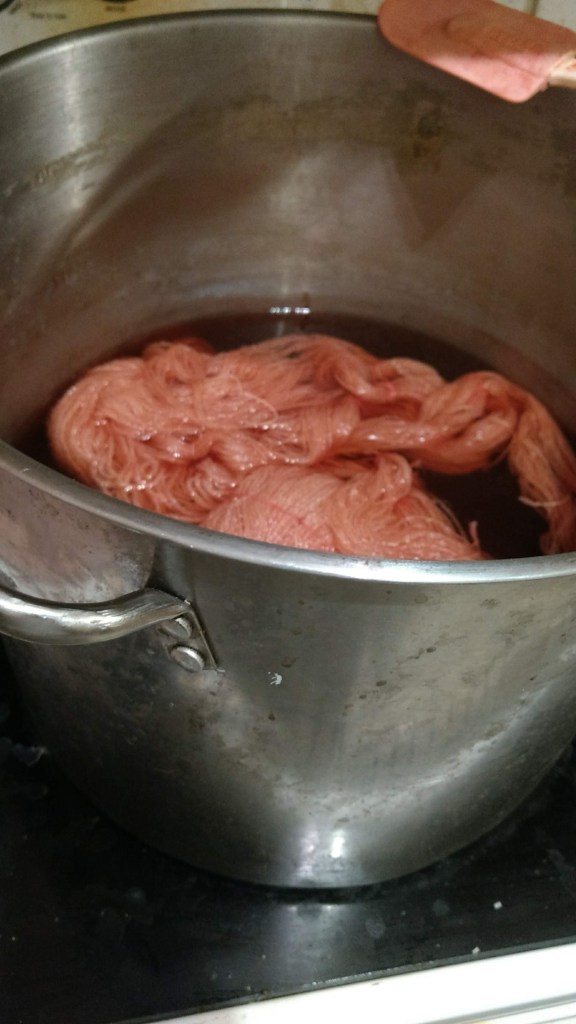
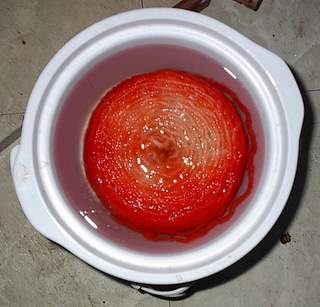
Because I’m me, I decided to use one of the silk fabric squares I experimented with dyeing with padauk. It isn’t the most even dye job, but it’s alright enough for a sample. Literally it’s a chunk of silk scrap left over from the banners that my husband makes, so it’s even waste fabric! Win! I got that basted down onto a square of linen, because the silk has no weight to it at all, and the metal threads would just win in that fight. You do not want the threads to win over the fabric, the fabric should be your stable backdrop. So the silk got some linen backup, and then popped into a hoop.

Silk in the dyepot

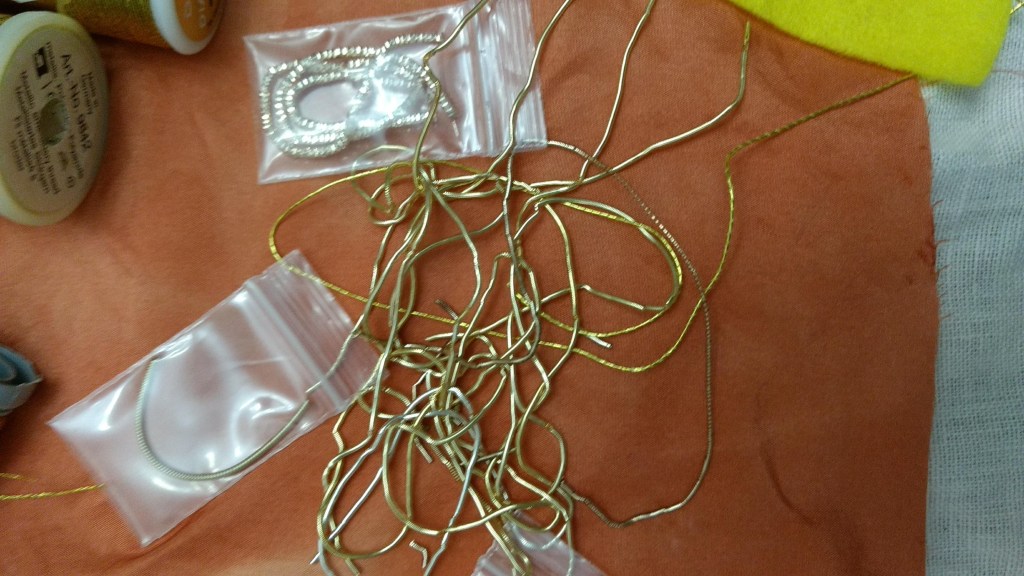
I picked what I hoped was about the centre of my square and started tacking down the felt to pad up the acorn top. Smallest piece first, then mid size and then the largest so that it’s smooth on top. The steps of felt would catch the metal laying on top, so you want the largest padding on top. At this point remember that a sensible person would have traced their pattern down before they put felt down, but I managed. (With a pencil, because the micron pen incident is still fresh.) Couch down gold thread onto that outline and realize that my ‘acquired goodness knows when or where’ gold passing thread does NOT want to make a nice point. Too much plastic, not enough metal I dare say. Get those suckers tucked into the back of the piece and then face the acorn top.

The little pieces of gold are actually tiny and delicate tubes, that need to be clipped to exactly the length to cover the felt and then you run your needle and thread through them like a bead basically to sew them down. I had a helluva time with that, my current glasses are not amazing and managing to see exactly where I was cutting was an adventure. A lot of glasses on, glasses off, peer, squint, cut, swear because it was too short, set aside to use later (always start with the long middle ones, when you miscut, you can use them later!) and then realization that I was running out of materials because I had quite a bit of damaged perl. If it gets stretched out of its spiral, it does not come back, and a fair bit of mine was looking pretty beat up. So it’s not quite as shiny as many others, but it is all mine, and all from stash! I’m pleased. I can see how to improve, but I’m still pleased.

All done!

Natural Dye along pt 1

Conversations in the last little while has prompted me to think that I should document the process by which I natural dye and bring the blog along for the ride. I want some new colours for this month’s embroidery, so I’m dyeing up some silk anyhow.

There’s a few caveats and comments required here. I dye exclusively on protein fibres.. wool and silk in my case. There are others who are wizards with cellulose fibres (cotton, linen etc), but I don’t play in that realm. I also dye almost entirely spun threads. Sometimes I’ll dye unspun fibre, but that’s rare, and I basically never dye fabric. I am a knitter, weaver and embroiderer and I generally work in tiny so my quantities are equally tiny which has some pros and some cons. (Seriously, a 50 yd skein of tiny silk feels like a lifetime supply at the rate I go through thread. Materials are never my cost challenge.) I generally only mordant with alum, copper and iron. Tin and chrome are not generally seen in period and more toxic, so I just don’t bother anymore. I have in the past, but I don’t generally anymore. I am also a one-off kinda dyer. I work with the colours I get rather than being super obsessed about getting a specific thing. Phew. Lots of caveats.

All of that being said.. the very first place to start is with equipment. You need to have pots and utensils that are dedicated to dye work. Yes, that’s a pain in the storage butt, and feels expensive to start. (although my equipment is all dollar store and thrift shop). Dye likes to stick, and while perhaps not immediately drop dead toxic, it is not something that you want to ingest on a regular basis. It is bad for you. If you use modern dye powders, those are also toxic and not for the eating. (Or the breathing. Wear a mask until it is in solution. Fortunately we all have masks now. 🙂 ) There is one exception to this conversation and that is if you work exclusively in food dye (as I did for many many years). Food dye is non toxic, a great way to dye with kids who might well stick things in their mouths and is quick and shockingly wash and light fast. I heartily recommend it, and there’ll be a whole big blog post about it soon. No, they did not have icing dye in the 13th century, but if they could peek into my box of dyestuffs they’d be super jealous that I have that luxury. (and super confused about the digital scale, but I digress.)

There’s a relatively short list of must have items:

  • A pot
  • A scale
  • Something to stir with
  • Something to strain with

The pot

I personally dye in thrift store crockpot about 80% of the time. My amounts are tiny and I utterly appreciate the reality of being able to set it up to simmer somewhere that isn’t in the kitchen because I’m married to someone who loves to cook. This is not a practical solution if you dye kilos of yarn at a time, or have a love for chunky weight, or are dyeing fabric. I generally am dyeing < 100g of thread sized silk or wool. On the rare occaisions that I am working on a bigger batch or something, I have a healthy sized stock pot. It got a little to beat up and bedraggled (and the lid broke) to be one of our ‘nice’ stock pots, so I adopted it into the dye stash. This is another place to keep an eye on yard sales, thrift stores etc. It does not need to be pretty, it just needs to be water tight.

The scale

While I’m quite certain that our medieval ancestors did not use a digital scale to calculate their dyestuffs, modern dye work does, especially for natural dye work. I prefer a digital scale and recently got a new super high detail scale (0.01g! Teeeny!) because I routinely need to measure things less than a gram because my full batch of silk is under 10 g. If you exist at sane quantities, then you do not need a scale that makes your friends think you’ve taken up an illicit sales side gig, but that scale you got for that diet is probably sufficient.

Something to stir with

This is seriously basic. For years, I literally used a scrap of 1″x2″ lumber that was convenient, now I’ve levelled up to a dollar store wooden spoon. If you are working over a fire with a large pot, you will want a longer handled spoon. I also like having a couple sacrificial plastic spoons for scooping out mordants and dyestuffs.

Something to strain with

I do have two here, a mesh strainer and a cheapo plastic colander. The first strains out the dyestuff (if it’s very fine, line it with linen or cotton or a coffee filter), and the second holds yarn while I rinse it. These are equally of dollar store vintage and nothing fancy. Thrift store, also an excellent choice.

Random extra bits

I also seem to always have a couple plastic pots (yogurt pots, or peanut butter jars, or ricotta or the like) to hold yarn while I weigh it, or hold onto sodden stuff, or be a little cup to hold my mordant or dye stuff while I weigh it, or to let some dye soak a while first, or other found bits and pieces just to hold things such that I am not getting my countertops red. (or blue.. or or or..) I also own gloves to keep my hands from becoming multicoloured, but I don’t always remember to wear them. Any gloves will do, I tend towards the dishwashing ones because I prefer reusing them and they hold up better to being used. I destroy a pair of disposable gloves faster than you can blink and then my hands are walnut brown anyhow.

What dye equipment can you not live without?