What’s in the water?

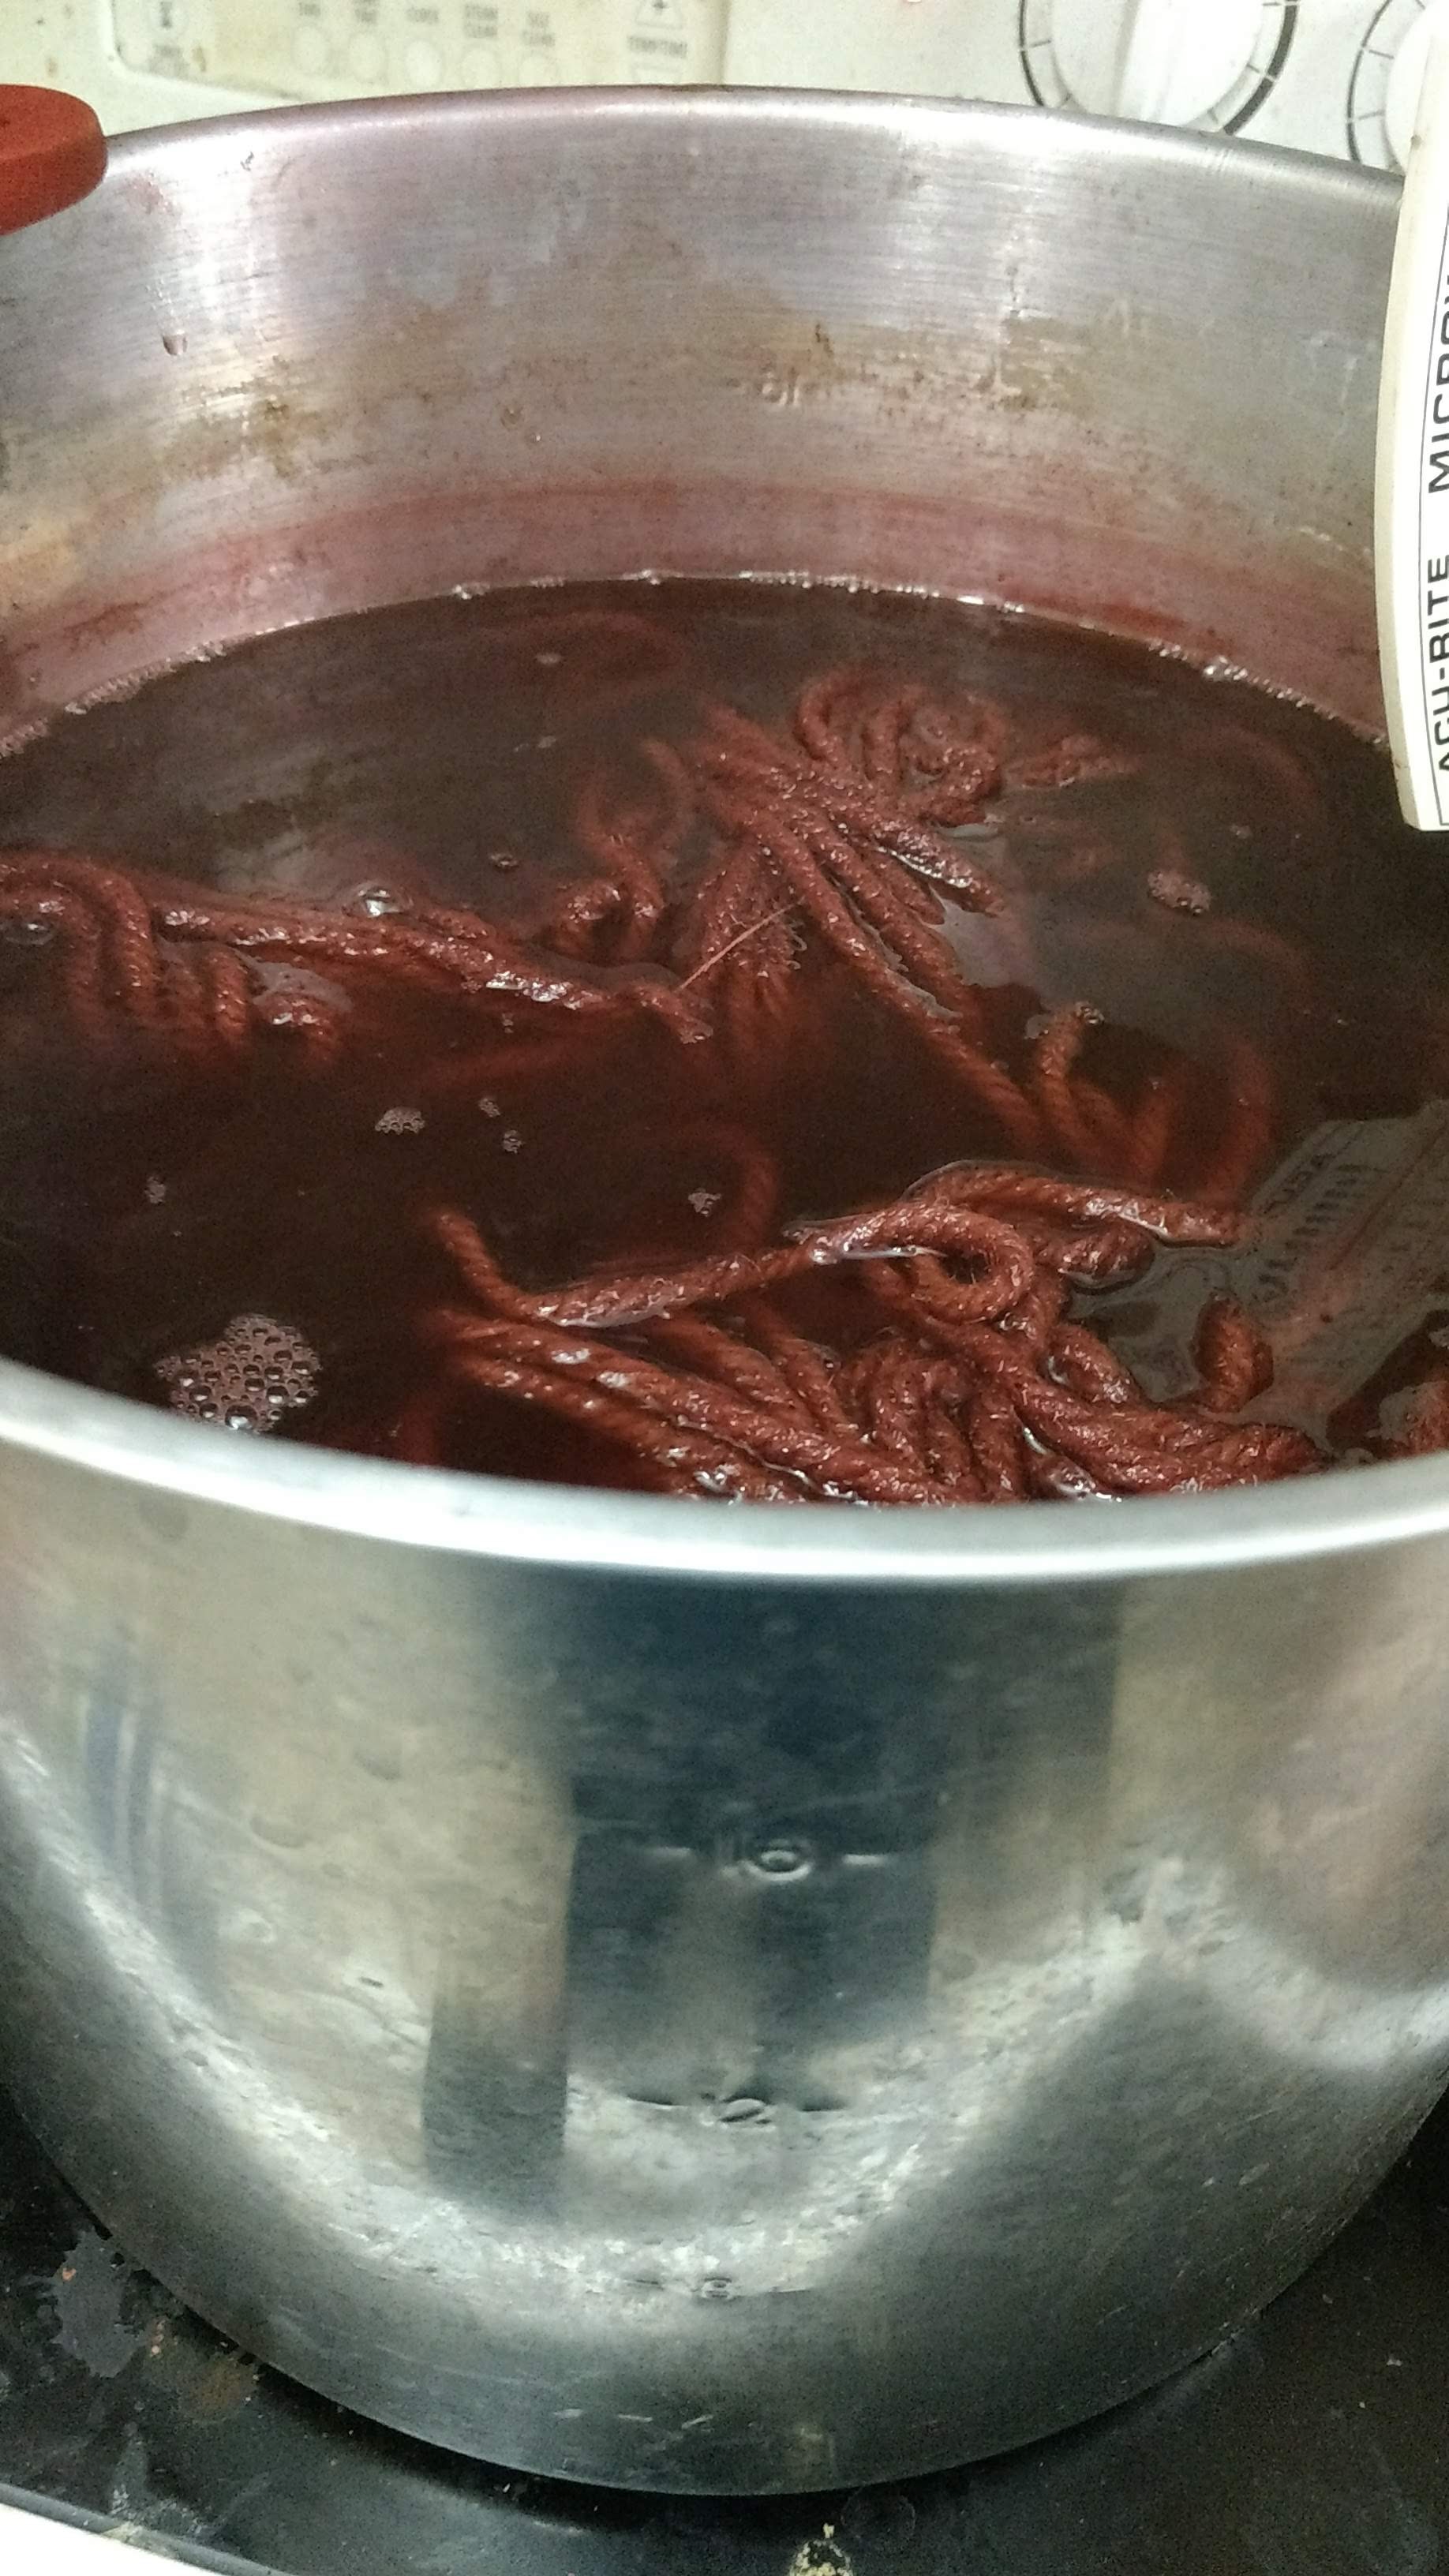
I promised in the last post that we’d spend more time talking about various chunks of water chemistry, a very broad overview, as it relates to dye chemistry. In specific, madder dye baths. Well here we are, another post about water. Today we’re going to have a quick look at Total Dissolved Solids, or TDS.

Photo by Snapwire on Pexels.com

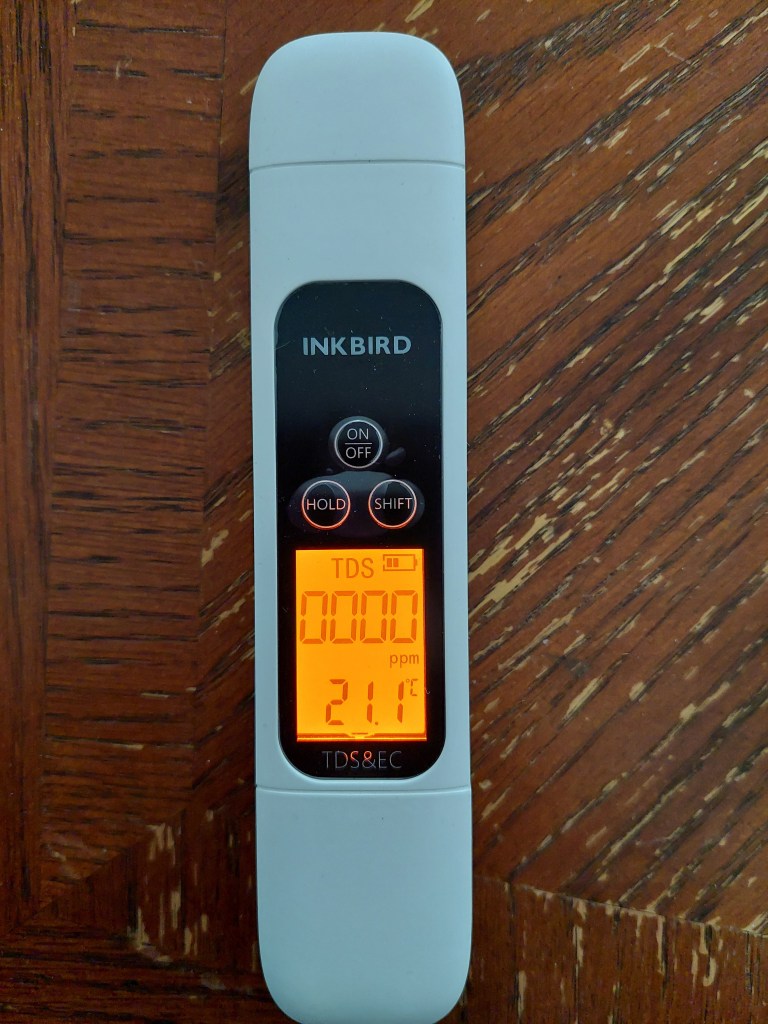
I measured the TDS values out of all of my samples with a basic meter (acquired off of Amazon), and gave it a rinse with distilled water between each sample. It was the meter that gave me the least grief throughout the entire experience, so gold star to my little TDS meter.

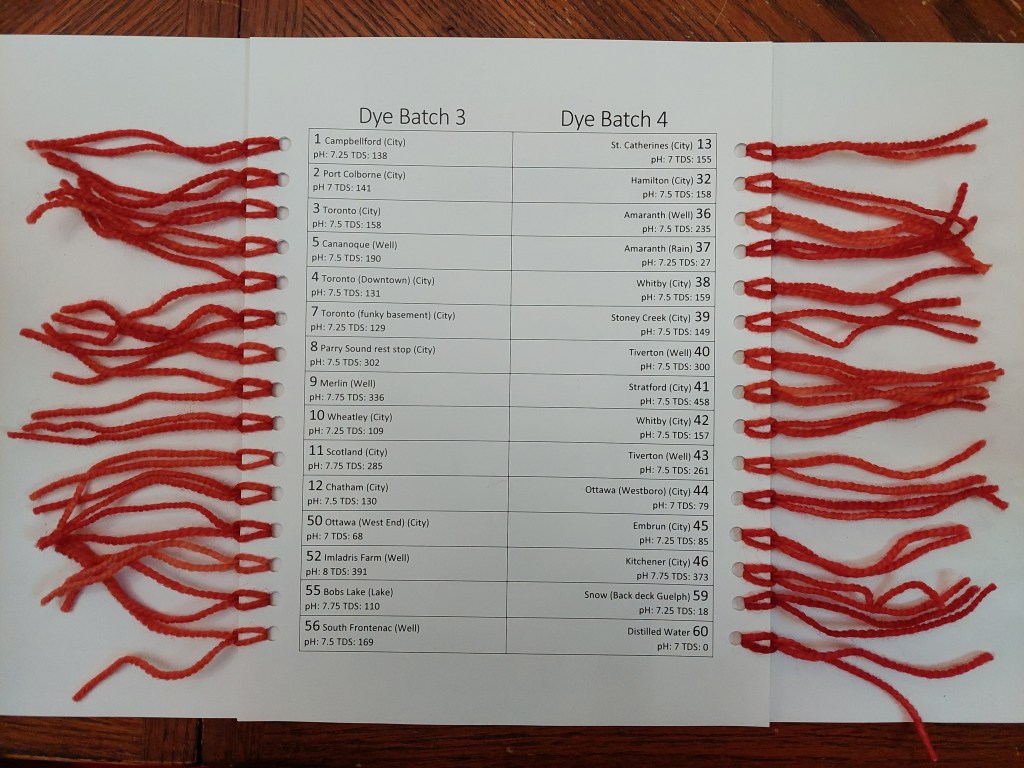
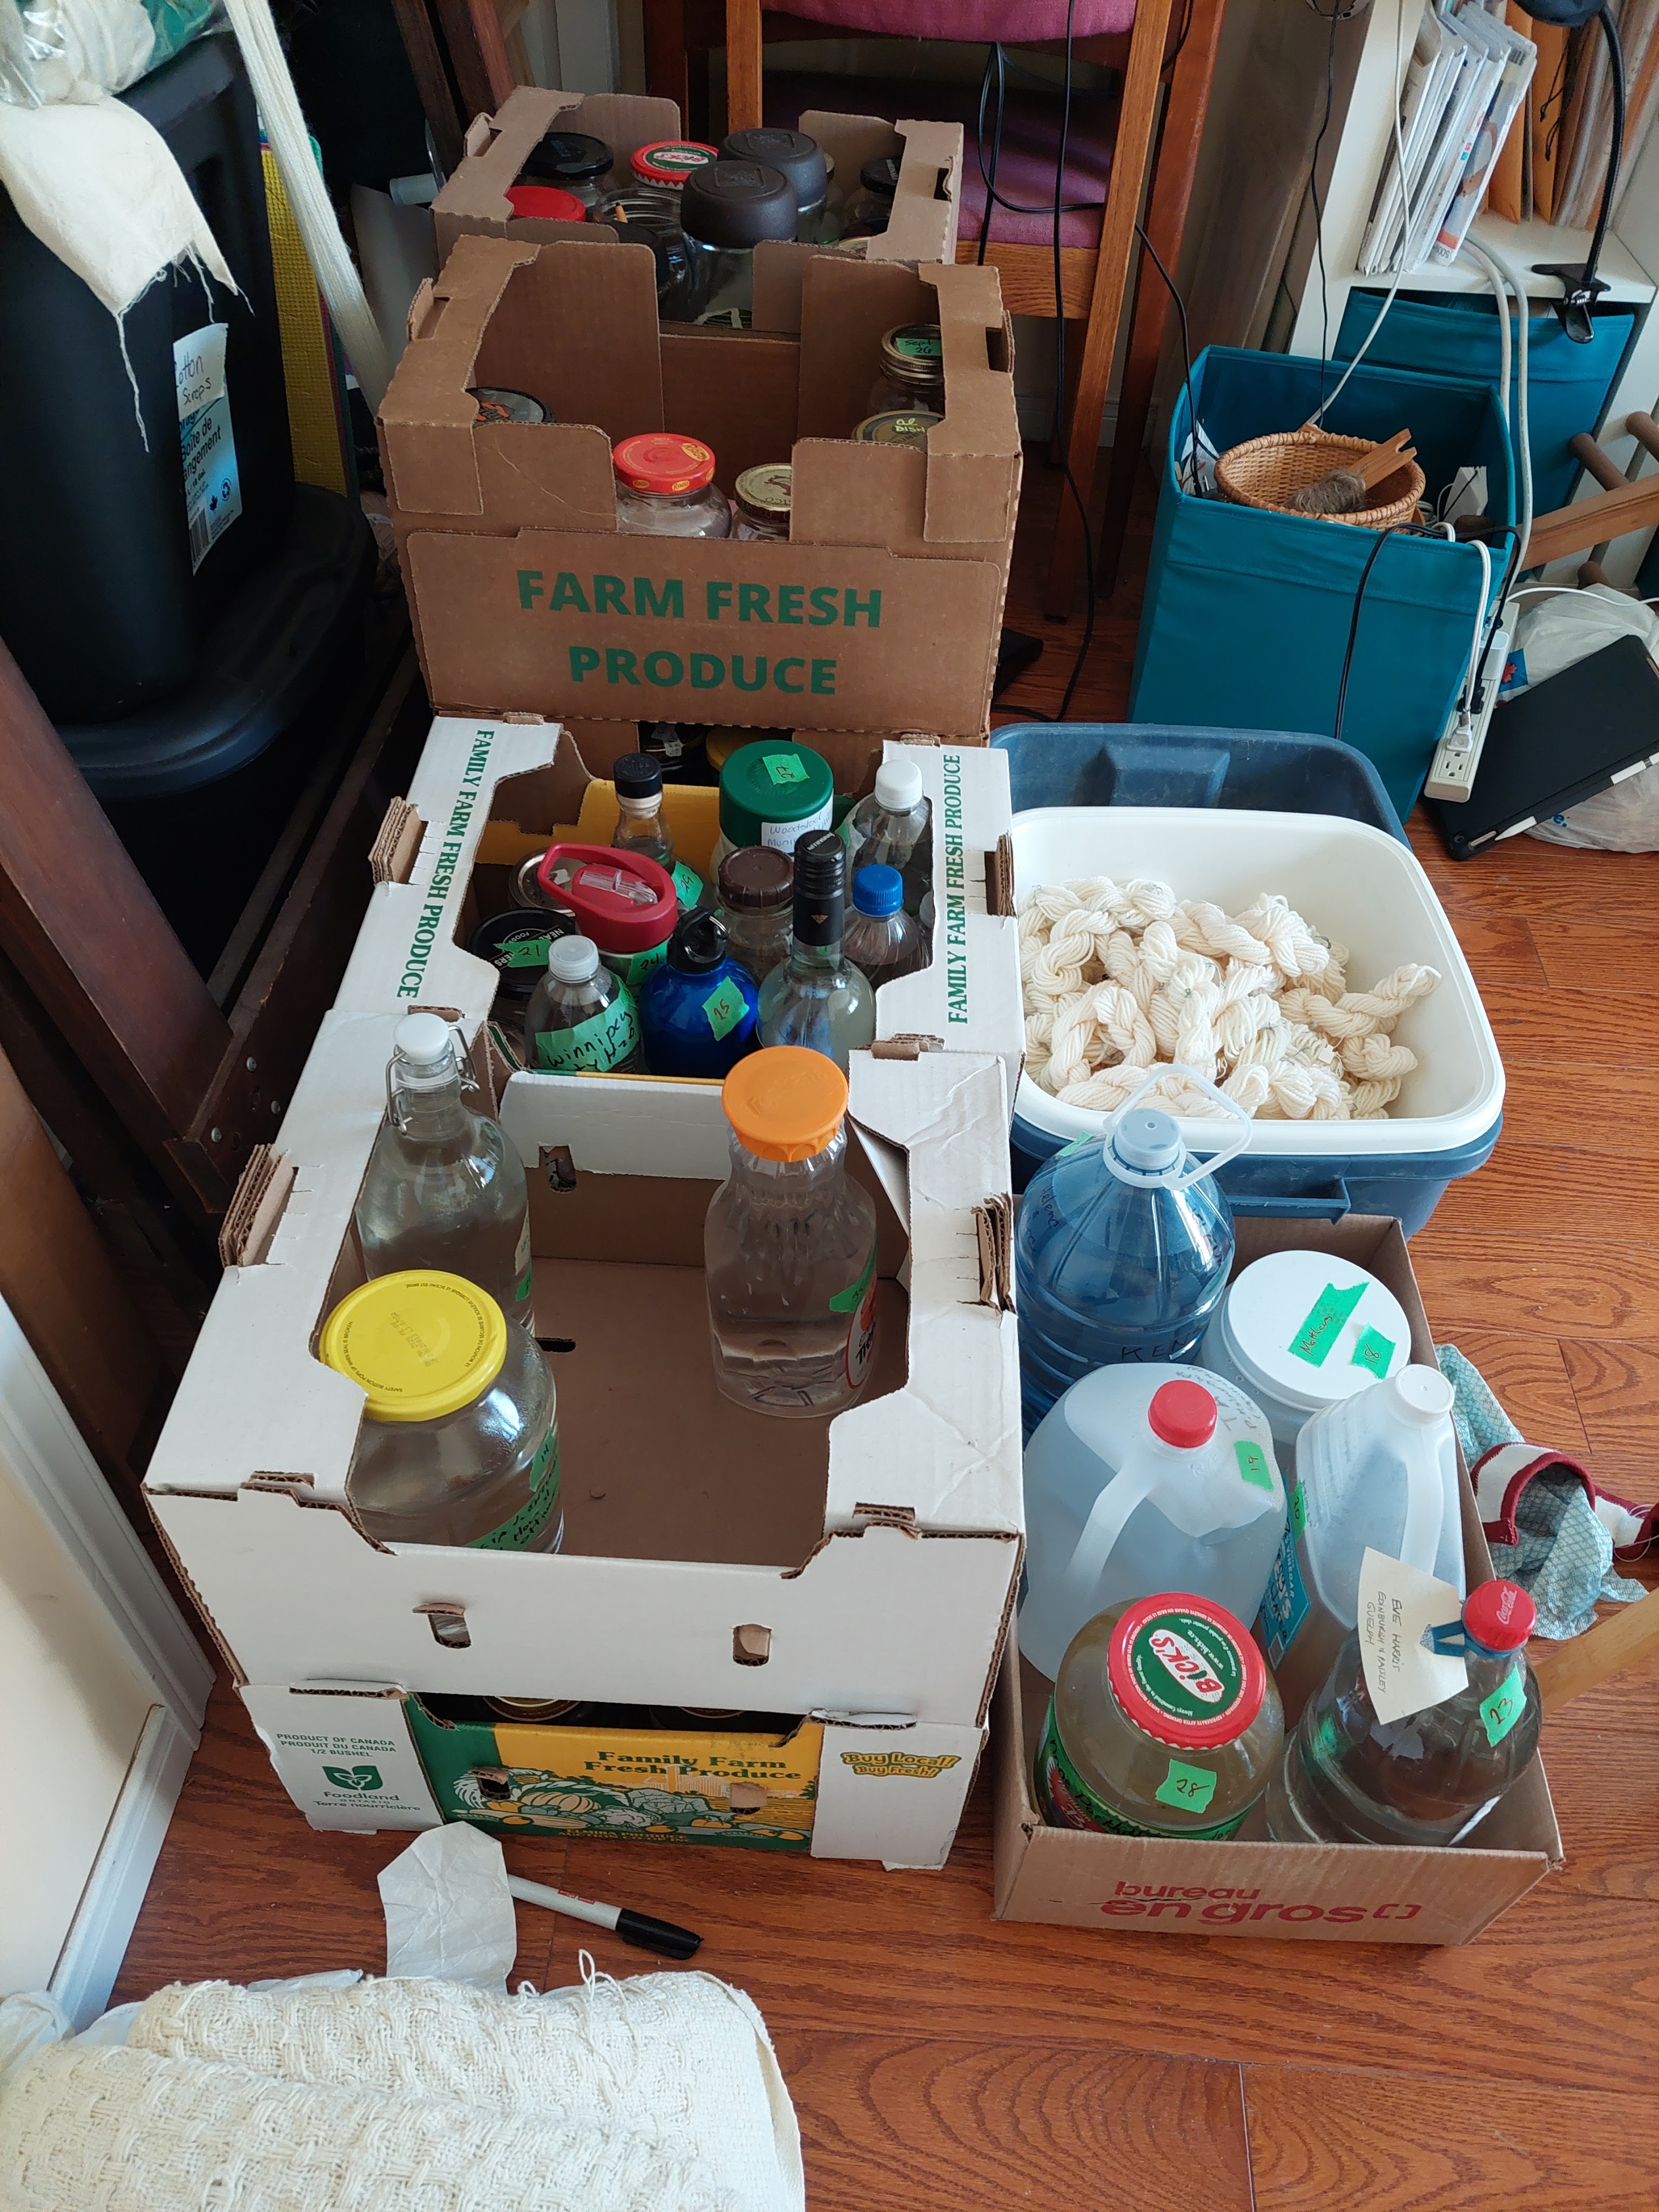
When we’re discussing things that are dissolved in our water, that is exactly what the TDS measure is. Total Dissolved Solids, which describes the both the inorganic salts and the small amounts of potential organic material present in the water. This could be a while assortment of things, but are usually calcium, magnesium, sodium cations and carbonate, chloride sulfate anions, amongst others. While TDS is often assumed to be a measure of quality, it is less discriminatory than that. It only measures that something is there, not what that something is, nor if that something is harmful, or unpalatable. The WHO has very general guidelines on palatability of drinking water with less than 300 mg/litre being considered excellent, good, between 300 and 600 mg/litre; fair, between 600 and 900 mg/litre; poor, between 900 and 1200 mg/litre; and levels greater than 1200 mg/litre being considered unacceptable.1 In our water survey TDS was measured in ppm (parts per million), which is approximately equivalent to mg/litre. The lowest TDS measured (outside of controls) was sample 37 at 27ppm, which falls in the excellent category and the highest was sample 26 at 559 ppm, which falls in the good category. A copy of my water survey results can be found linked in my google drive.

Inkbird TDS meter

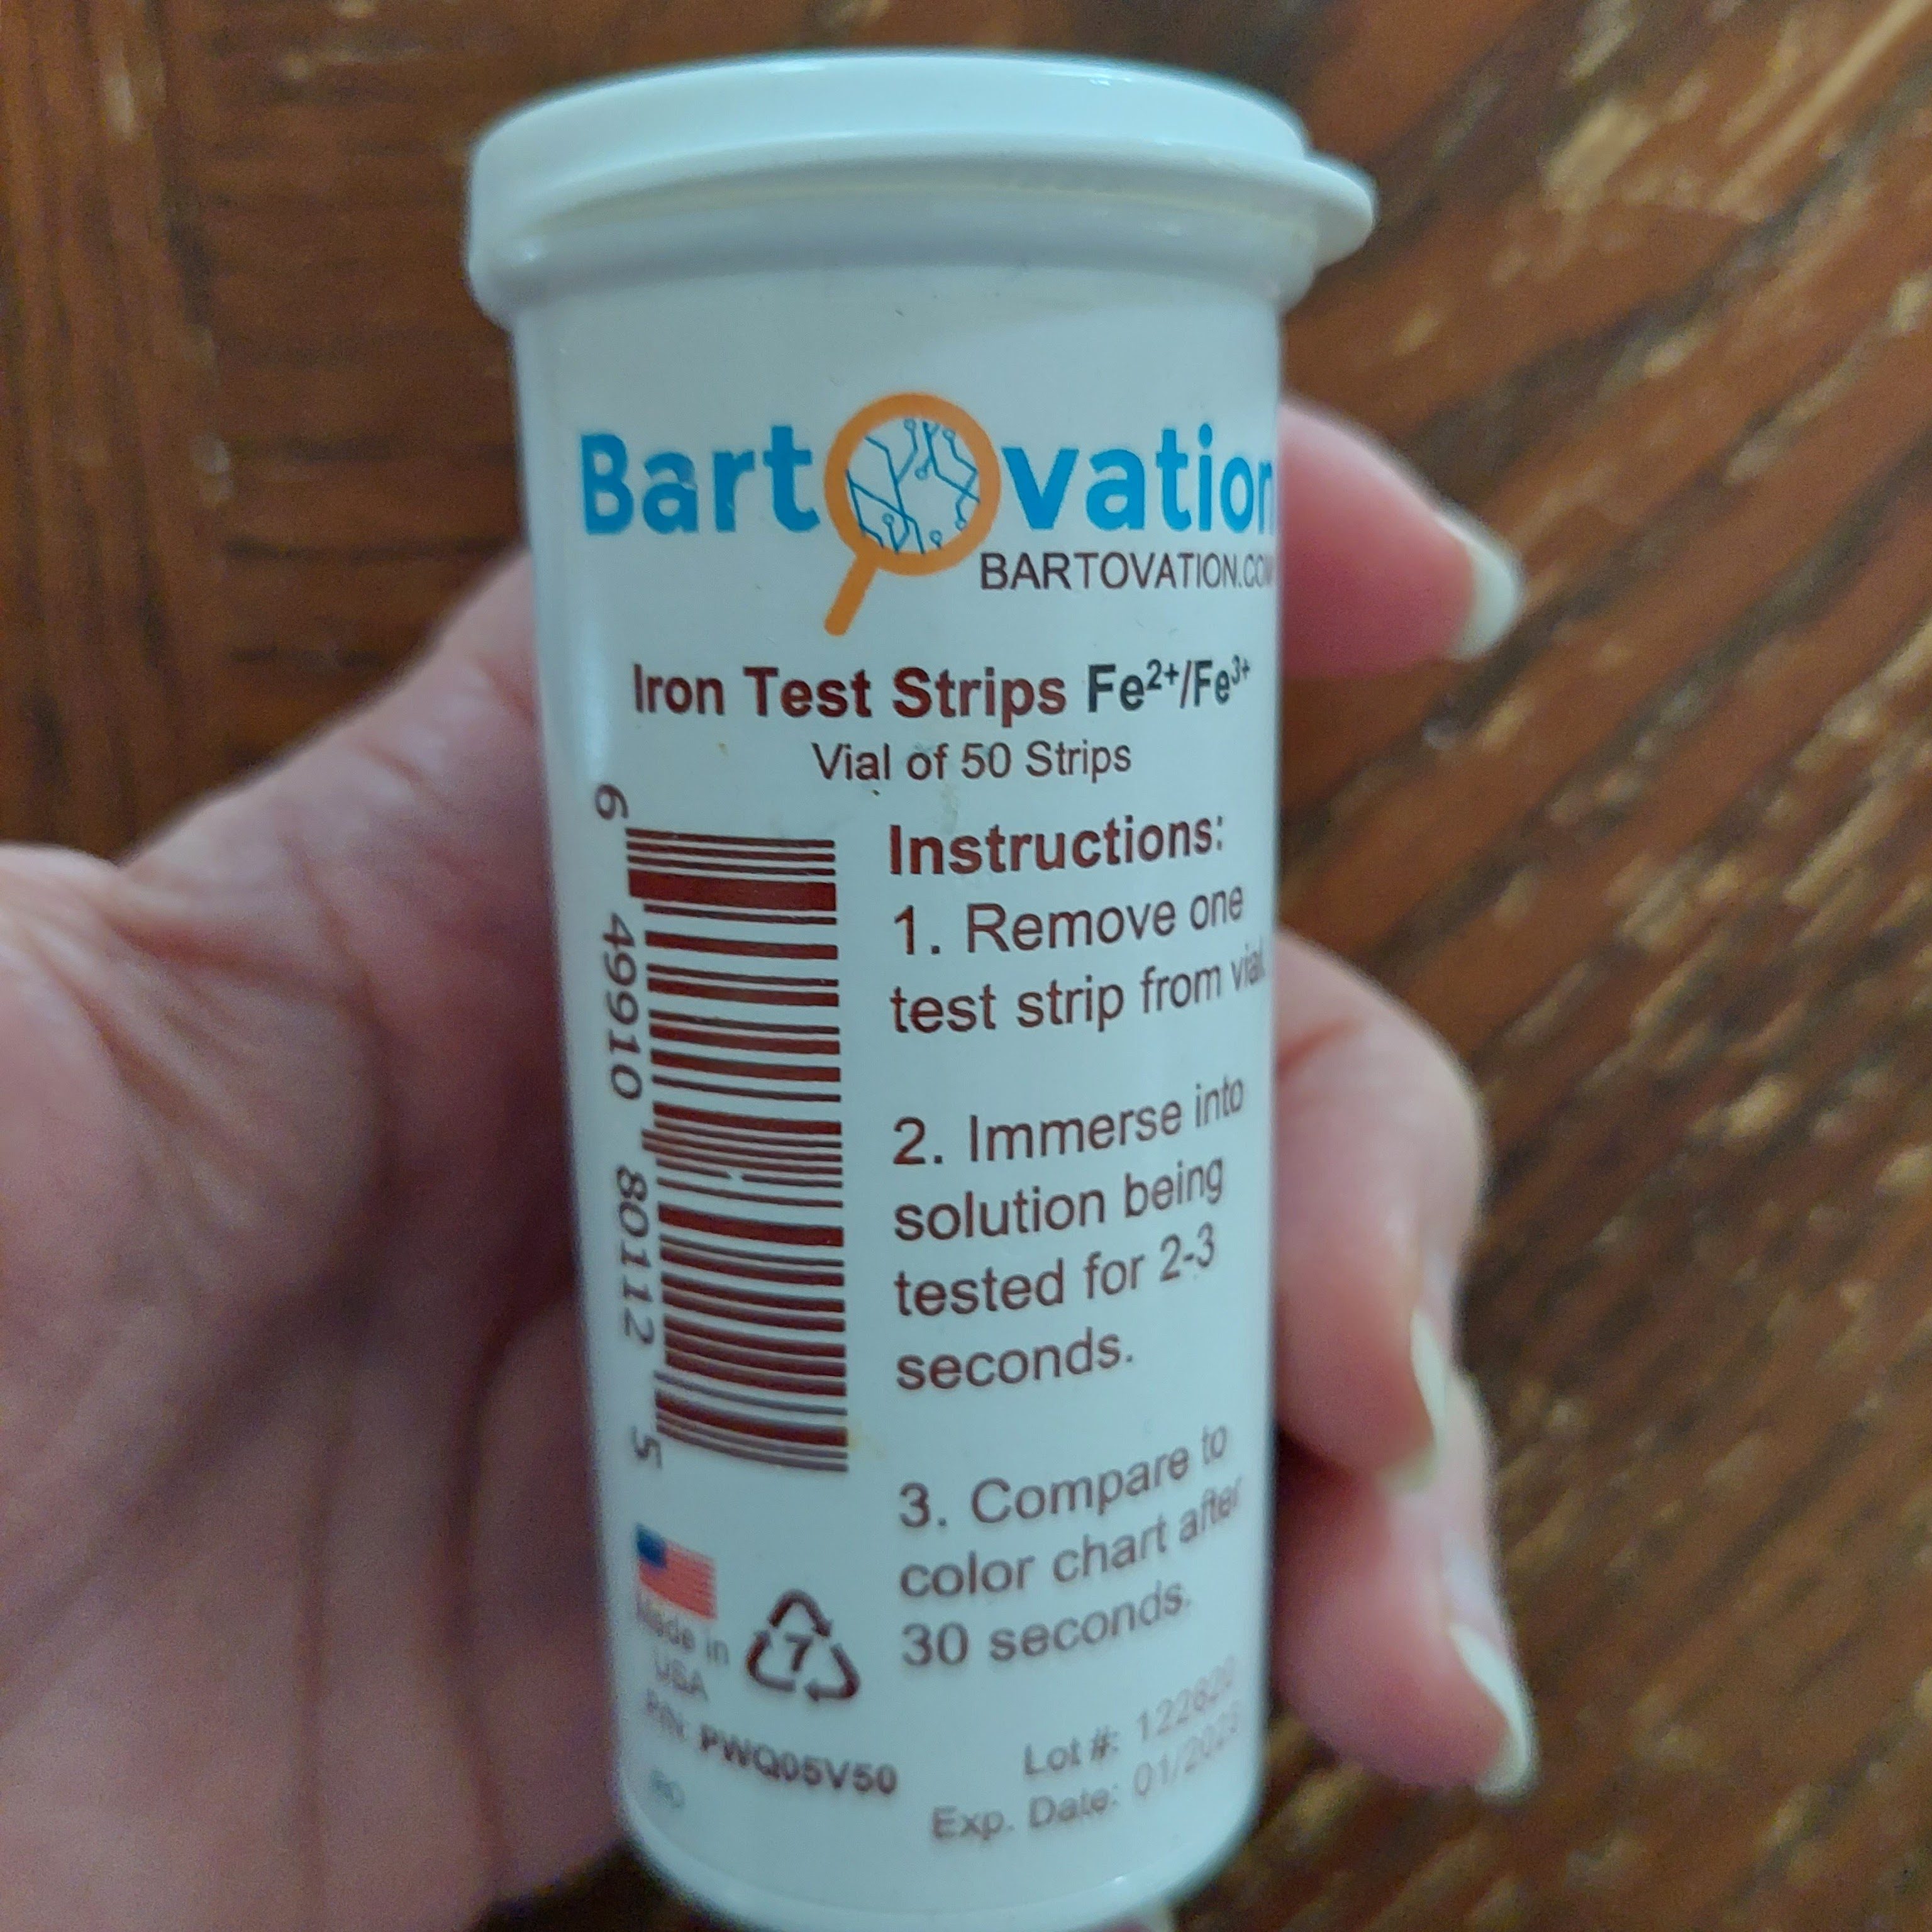
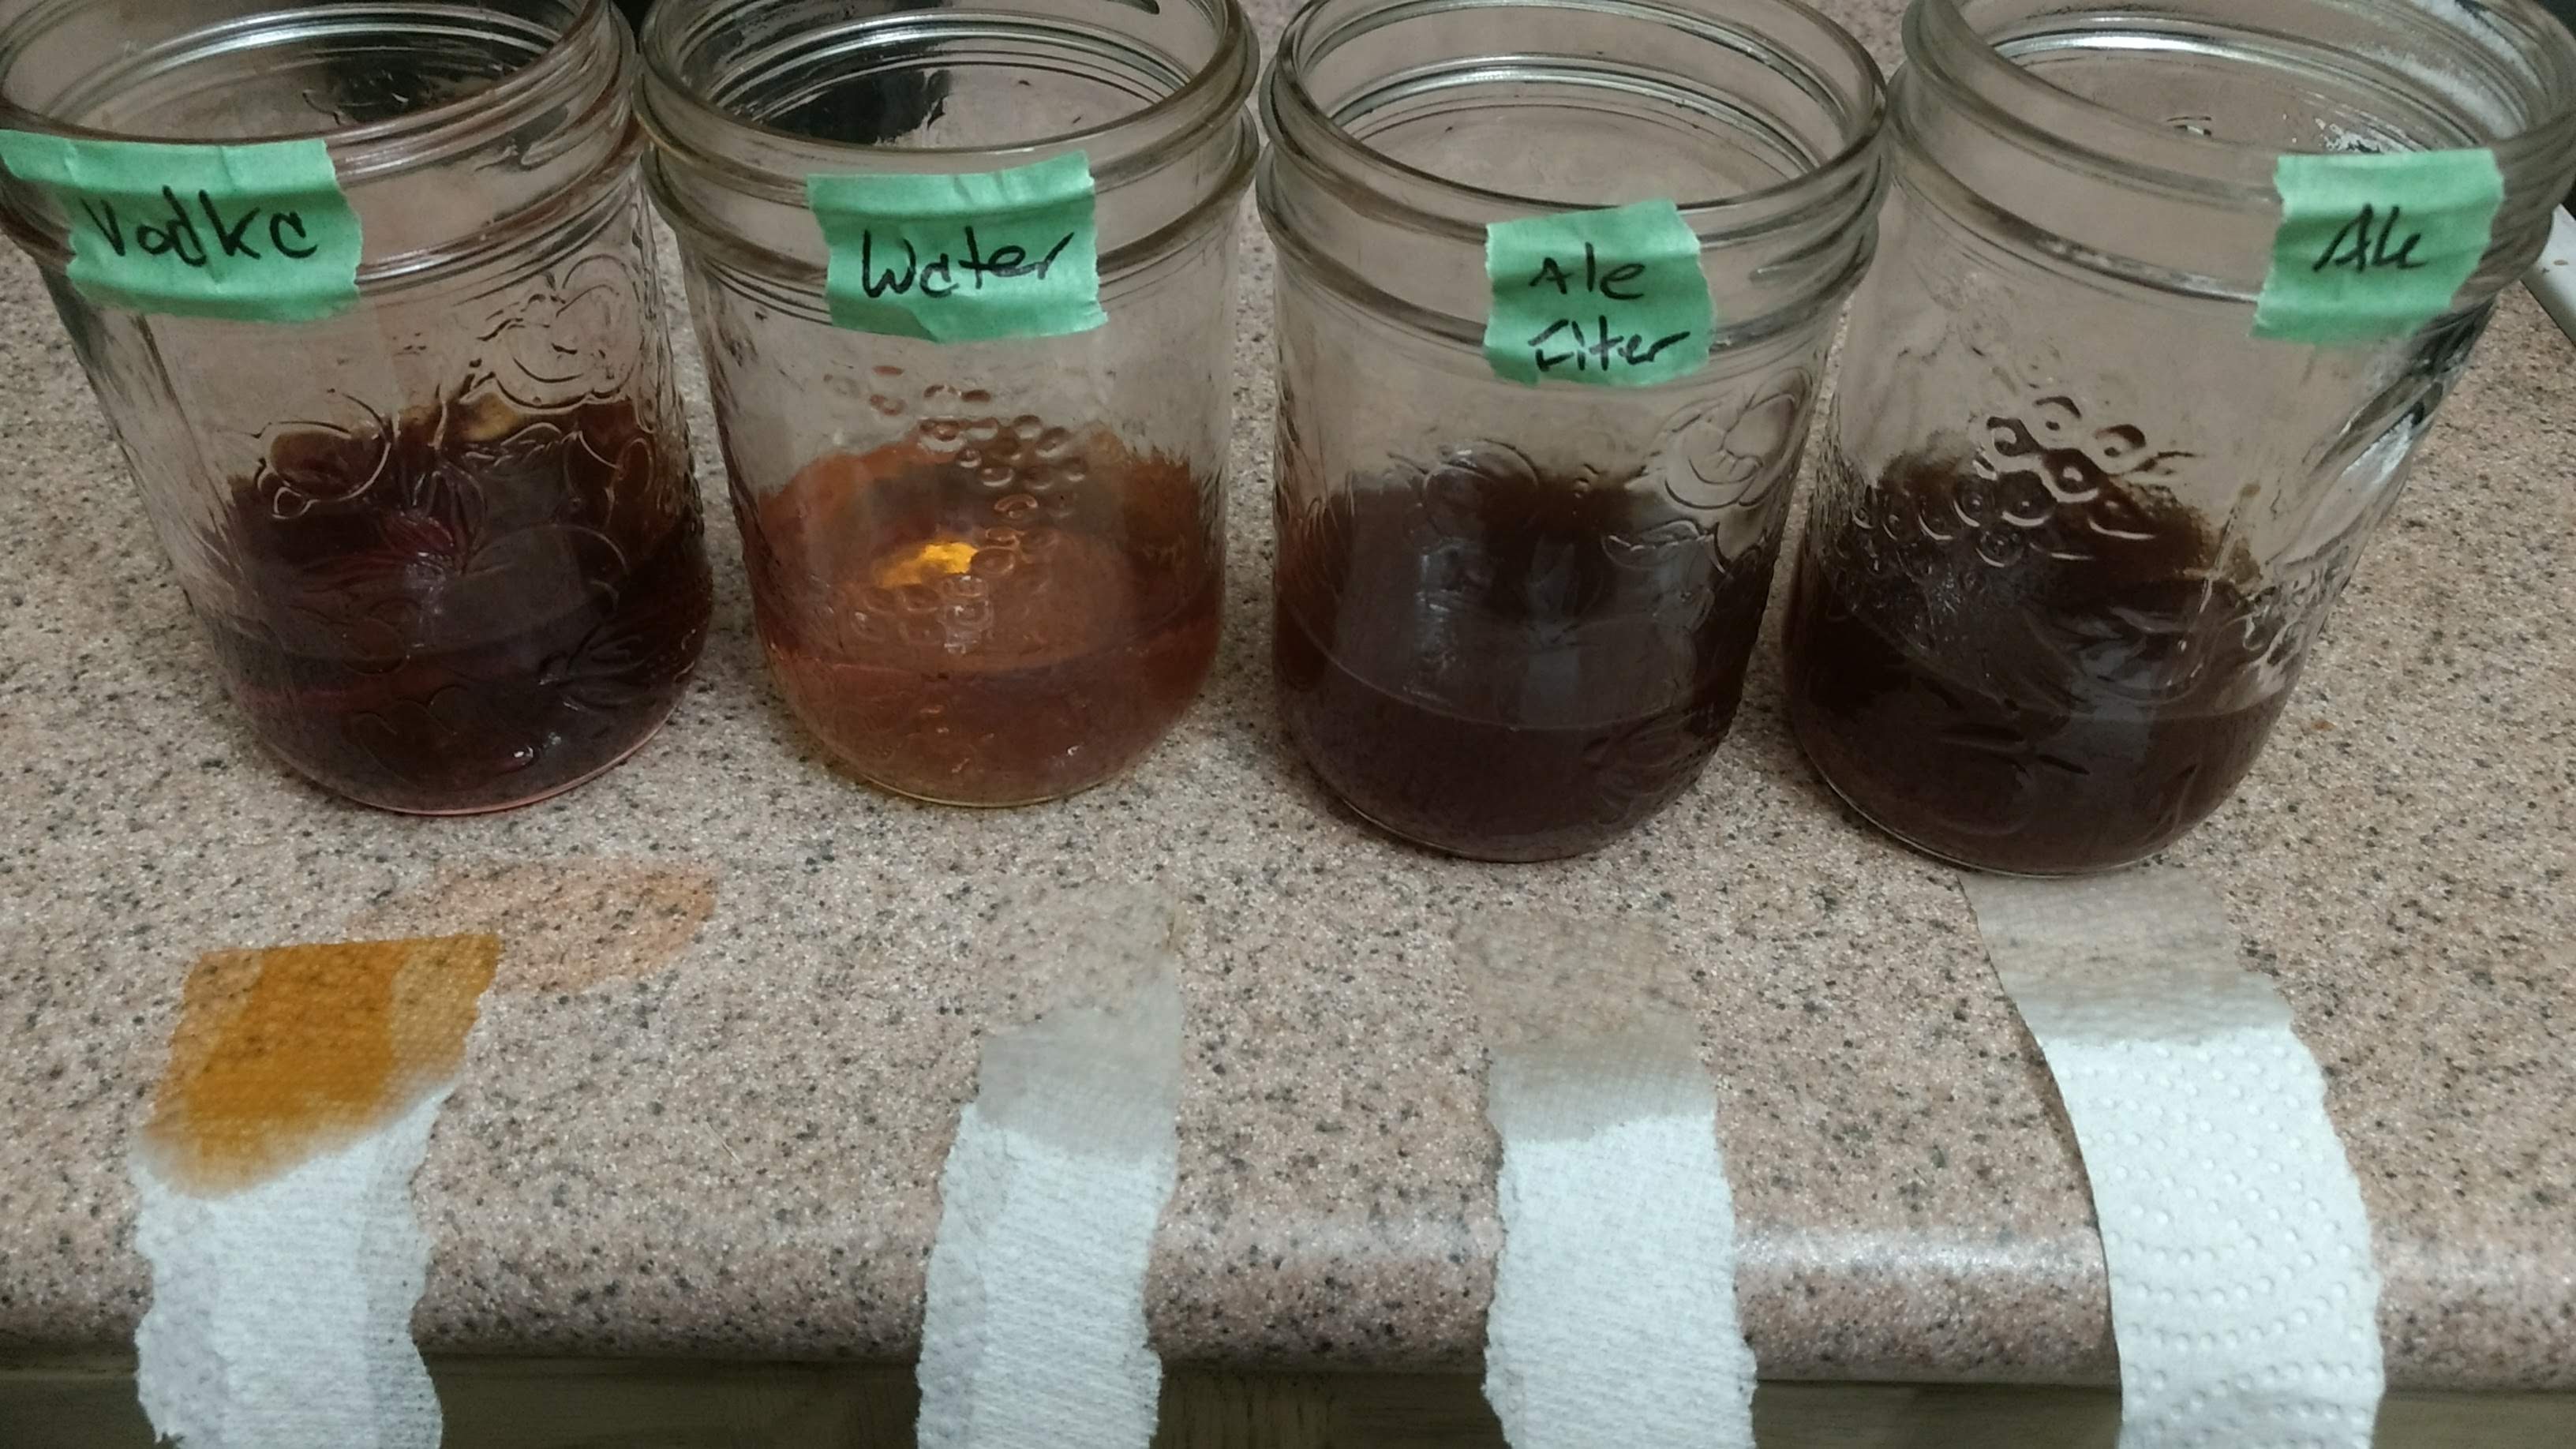
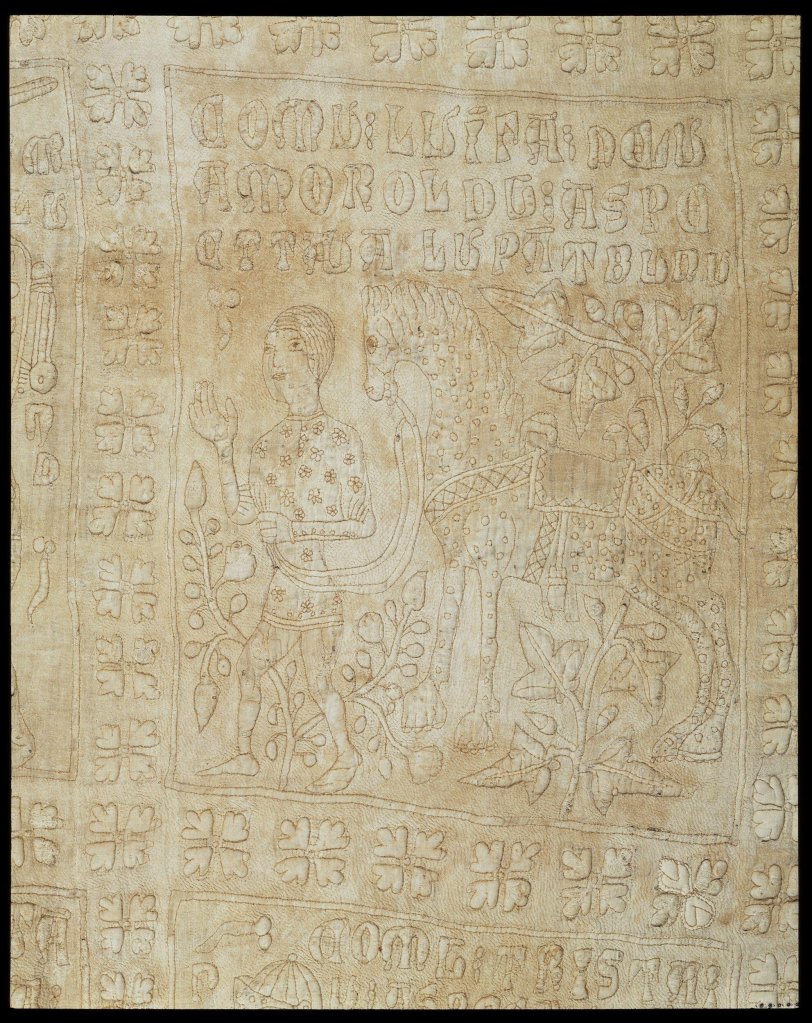
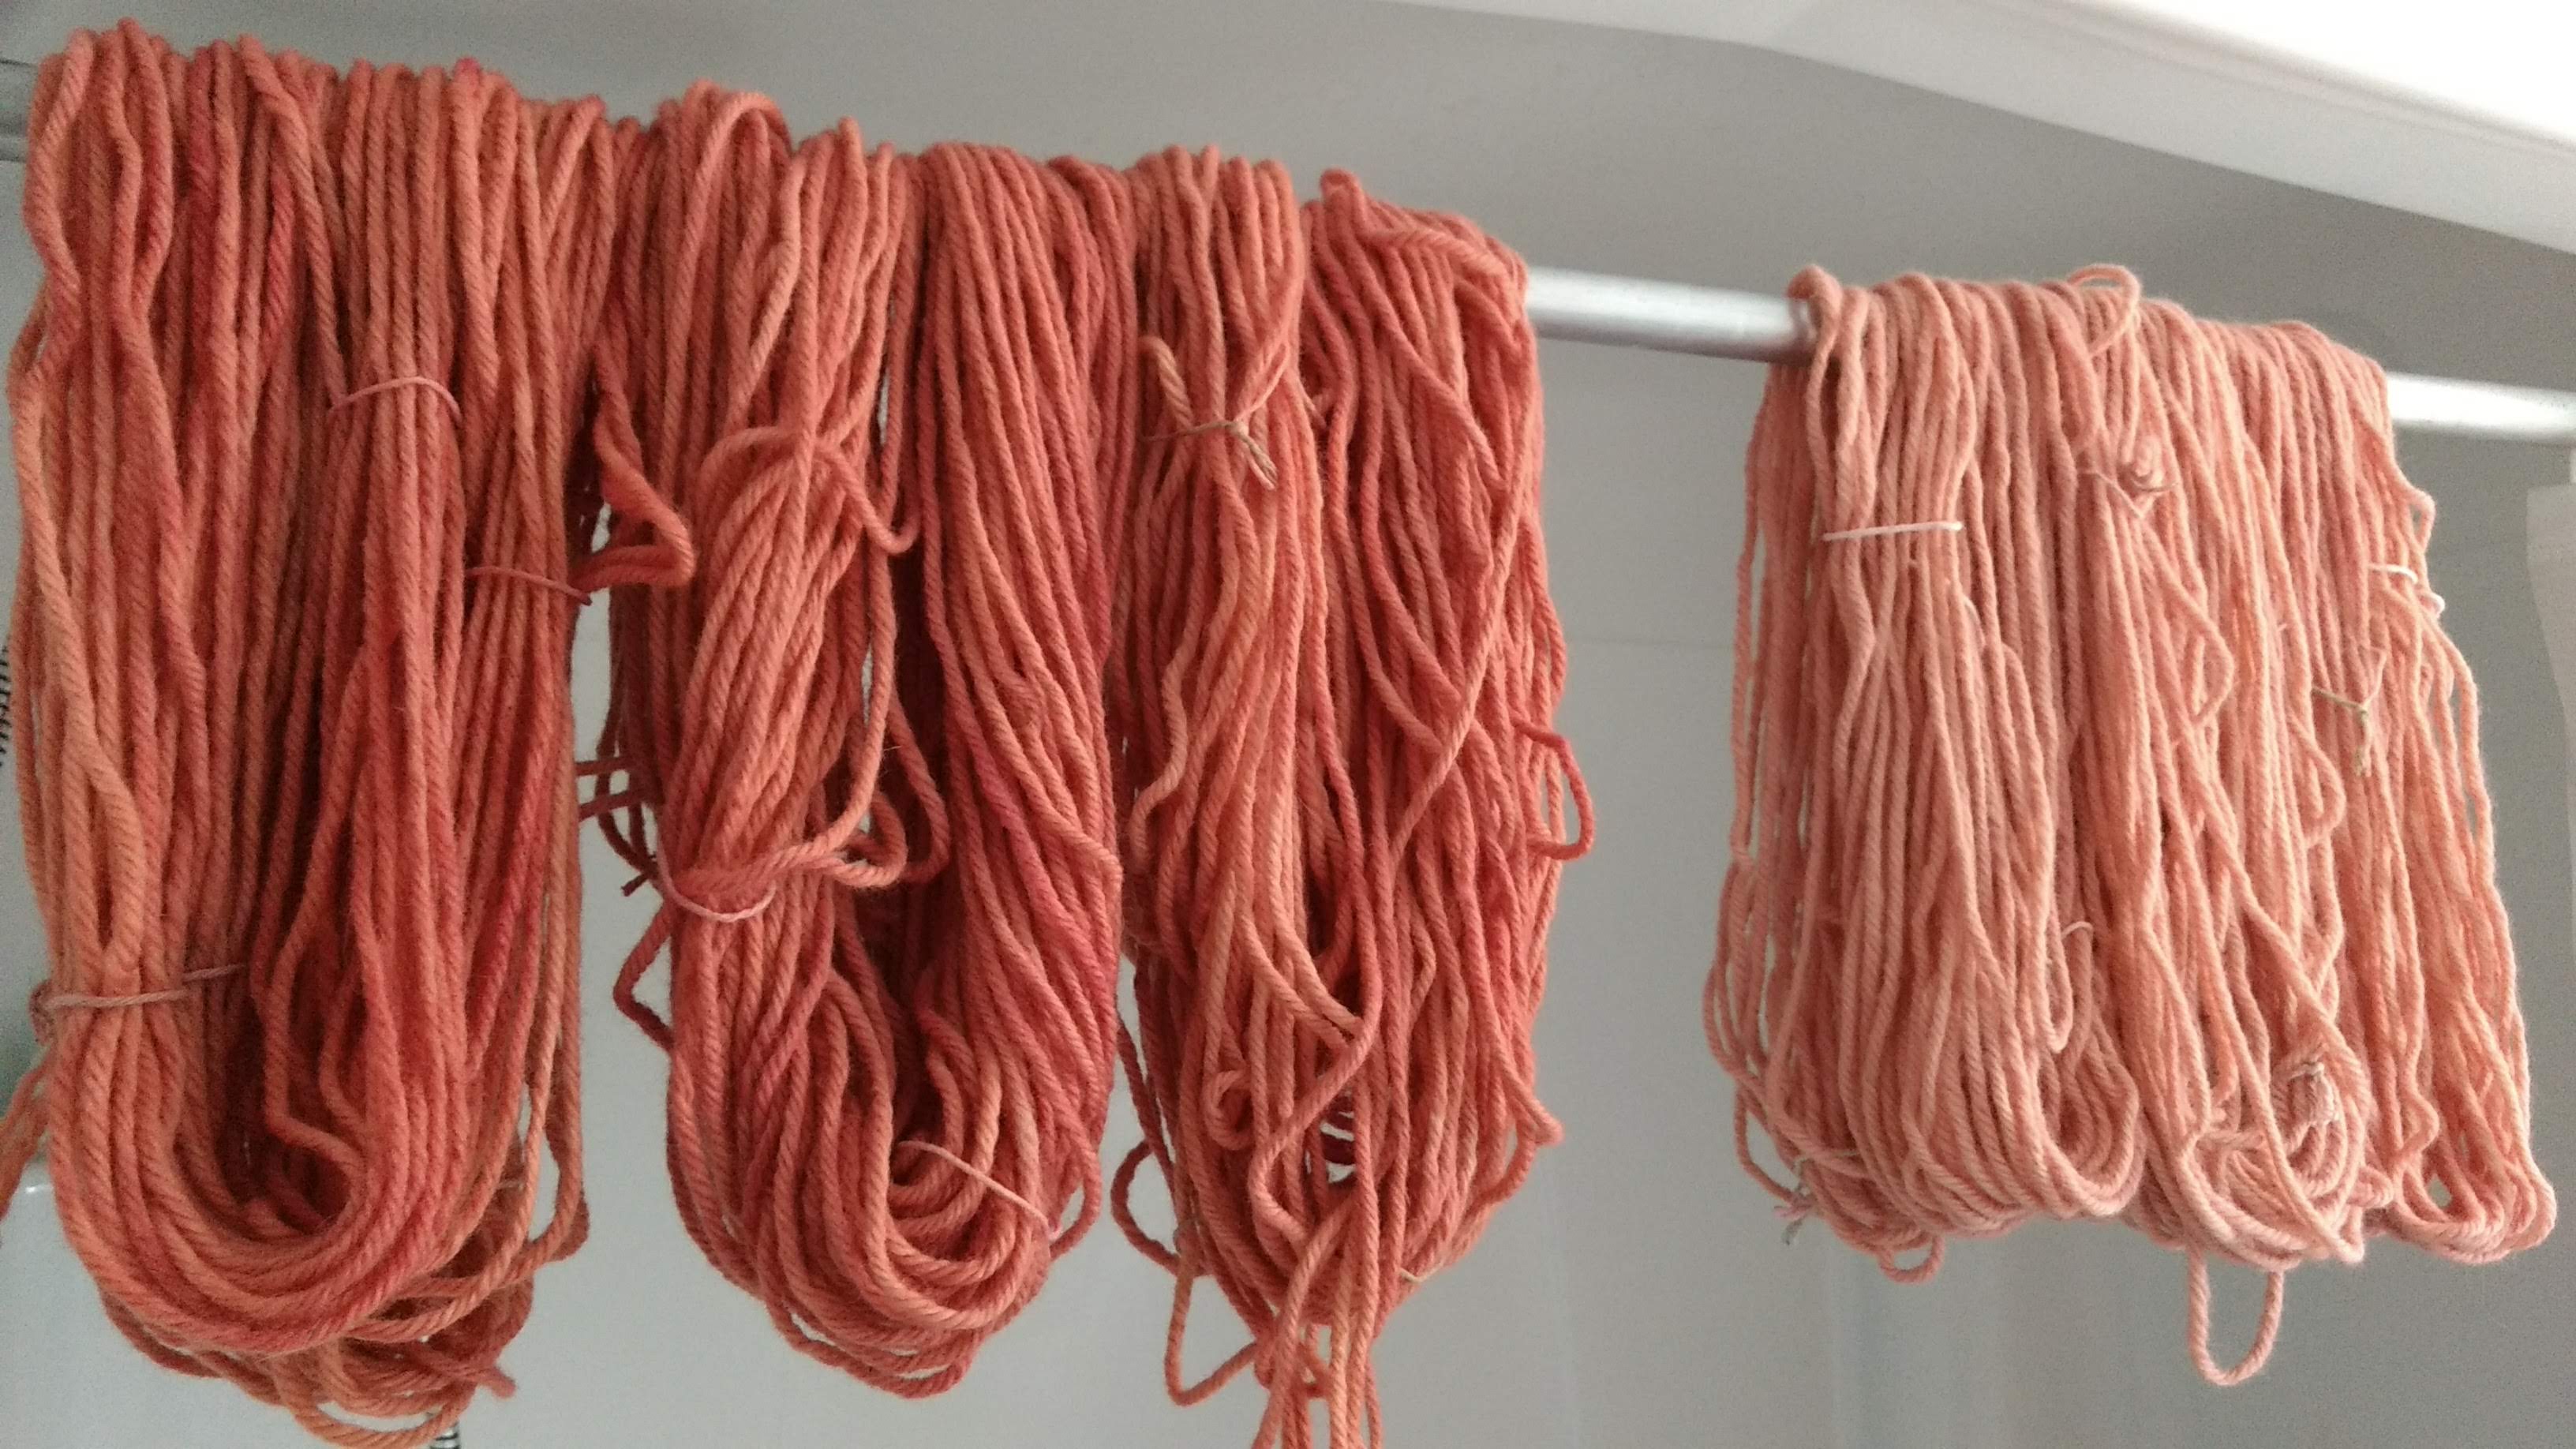
Often, it is assumed that TDS is a measure of hardness, but TDS is too generalized a measure to mean only that. While it includes the minerals that are part of what is referred to as ‘hardness’, primarily calcium and magnesium, that is not all that it includes. The TDS values of the iron samples are a prime example of that (samples 63, 65-68). Those samples are distilled water with the addition of ferrous sulphate, no minerals associated with hard water present and they not only have TDS values, but it is proportionate with the amount of ferrous sulphate added. In our water samples, it is overly simplistic to assume that TDS refers to hardness, but in absence of good detection of other minerals, it is an assumption I am generally willing to make, with caveats. Certainly I do not assume TDS references hardness when the composition of the solution is known (ie the ferrous sulphate solutions). Water in Ontario is extremely variable in hardness, although we do have some of the hardest water in the country, but that is not consistent.2  Madder, as a dye, appreciates hard water, it usually promotes a deeper red colour, although interestingly, we got an exceptional colour from distilled water (sample 60), so clearly no one told my madder bath that day.

Modern dyers, when looking to augment the calcium in their water, tend to add chalk (calcium carbonate) directly, or a crushed up tums tablet or two (which is calcium carbonate, but with handy fruit flavours!), so if you aren’t super happy with the colour you get from your madder pots, give that a try. Calcium carbonate is very mildly basic, so it doesn’t affect the pH of the dye bath to any great extent.

Next up, we’ll have a look at iron, which can be contained in the TDS measure, but is interesting enough to talk about all on it’s own.


References

  1. Total dissolved solids in Drinking-water; Background document for development of
    WHO Guidelines for Drinking-water Quality
  2. Guidelines for Canadian Drinking Water Quality: Guideline Technical Document – Hardness

Water Survey results pt 1

I’m not going to bury the lead on this one, now that I’ve taken my many many skeins of red yarn to show people at last weekend’s Kingdom A&S in Ealdormere, I’m happy sharing it with the blog world too. This is going to be a series of posts over the coming weeks. Starting with the pretty colours today, but then continuing into the water chemistry that affects the dye baths over further weeks. We started that last time with pH, but we’ll also touch on dissolved solids, iron and chlorinated water (and whatever else comes to mind as we go).

I detailed out the premise of the experiment in this blog post, but long story short; in late 2021, I had a hare brained scheme to request water samples from all over the kingdom (and beyond!) to do a selection of dye baths from to illustrate the variation that could be obtained while only changing one variable, the water. Note that photos do not do any of these colours justice, come see my samples at in person events!

Methodology

With 68 samples to work through, it was clear that a traditional ‘pot on the stove’ style of dyebath for each one was not at all going to be feasible. I have used a water bath method to do batch samples before and it is very effective.

For each water sample the pH, TDS and iron content was measured and noted down. The sample then had 600 ml measured into a clean (rinsed with distilled water) glass jar, if the sample contained less than 600 ml, it was topped up with distilled water to a total volume of 600 ml. Each of these jars had 3 g of madder powder added to them. The water bath was set up to hold 15 jars per batch, and the water temperature was held constant at 65C with a sous vide appliance. The dye liquor was brought up to temperature, and then held at 65C for two hours.

The yarn had been skeined off, weighed dry, mordanted in batches with alum at 10% wof and dried. Before dyeing, the skeins were soaked in distilled water to ensure they were fully wet.

After the dye liquor had steeped for two hours, the wet wool was added and stirred with a disposable bamboo skewer. The wool was held at temperature for an hour (stirred again at 30 minutes for Batch 2-6), and then was removed from the water bath after the hour had passed. The wool remained in the dye bath to cool naturally overnight. After 12 hours of cooling, the wool was removed to a drying rack to dry. The wool was left to dry for approximately 10 days before rinsing with distilled water and being left to dry again.

Everything was recorded in a giant spreadsheet that you are welcome to have a look at here.

Equipment

We had a quick look at the equipment that I used over in another blog post, go have a look there for all of my meters and strips and the like. The only addition to that list is my newest toy, a Color Muse colour meter. This little gadget is designed for interior designers to be able to match paint to fabric swatches, but also very helpfully provides a standardized reading of colour. The one that I’ve chosen to use is the CIE L*a*b* colourspace, which is specifically designed for comparisons. More on that in a future blog post, I have done little beyond take the readings at this point.

Results

The main form of showing my results is the photo at the top of this post. I embroidered a map of the relevant section of Ealdormere and then tied a loop of wool in the approximate location of its water. (Linen map, outlines in walnut dyed silk, compass point also in silk dyed with indigo, cochineal and mystery yellow.) The sample cards are a little bit easier to look things up and compare numbers and those are arranged by dye batch, shown below.

We’ve started talking about the water chemistry involved, looking at pH first in this post. We’ll move on in future posts to talk about total dissolved solids, iron levels, chlorine in city tap water and ultimately the results of the colour meter, but I’m aiming for this post not to turn into a thesis. When all is said and done, I’ll gather everything up into one document and stick it on my website such that people don’t have to scroll through blog posts to find the information. For the moment, however, stick around for the serialized version. Questions and comments are very welcome!

Let’s talk plants: Madder

I’ve talked about dyeing with madder more than a few times. I’ve written up documentation about some of my early madder experiments. I don’t think anyone would be surprised to know that I am really rather fond of playing with madder. So let’s do a little bit of a wander down the botanical path with the plant.

NB. I am a terrible gardener. I managed to kill a mint plant, that’s the level of terrible we are talking here. I do not grow my own. I let professionals (or awesome friends) do that for me and reap the bounty of their labours with gratitude (and/or payment.)

Franz Eugen Köhler, Köhler’s Medizinal-Pflanzen, Public domain, via Wikimedia Commons

Right, we’re talking about Madder. Most commonly, when the word madder is tossed around in the dye world, folks are meaning the dried and ground roots of Rubia tinctorum. Also referred to as common madder or European madder. It is, however, not the only madder plant out there that has dyestuff for us! It’s not even the only madder plant we can buy. The other one that’s easy to find at the dye supplier is Rubia cordifolia. Also referred to as Indian madder, or munjeet. But yet again that’s not the only other madder out there, there’s more! Wild madder, Rubia peregrina and Japanese madder, Rubia akane and there are others in the Rubia family.. but the first two are the most commonly used.

R. tinctorum is a perennial that was cultivated throughout Europe and the Middle East, with the highest quality coming from Turkey, Holland and France. It is native to western and central Asia and naturalized itself in central and southern Europe. Munjeet (R. cordifolia) comes from moutainous regions of Asia, from the Himalayas to Japan and also in tropical Africa. Wild madder (R. peregrina) is a native of Europe, Turkey and North Africa as well as the coastal regions of southern England and some bits of Wales and Ireland. The roots of wild madder are smaller than that of madder, requiring more dye stuff to gain a strong colour than one would require from madder, although that can be mitigated by waiting longer to harvest the wild madder roots (five years, rather than three for R. tinctorum)

Madder dyed wool

All of the various versions of madder have been used since antiquity, with evidence in extant items from Mohenjo-Daro in the Indus vally (approx 3000 BCE) and mentions in Pliny the Elder’s Naturalis Historia and recipes using madder are found in the Papyrus Graecus Holmiensis (approx 4th century) Assumptions about which madder was being used are usually based on geography. The East was more likely to be using R. cordifolia, the West more likely to be using R. tinctorum or R. peregrina. Local traditions using local plants, as the Rubia plant family is happy to grow in so very many different places.

All of them contain similar dye molecules, although different plant species have them in different combinations and concentrations. This chart from “The Colourful Past” by Judith H. Hofenk de Graaff is an excellent summary of who has what, with some extra plants that also contain anthraquinones.

Forgive me for being the kind of person who casually drops words like ‘anthraquinones’ in conversation, but in a nutshell.. those are the dye molecules that provide the red colour. For the curious, these are their structures (why this graphic is missing alizarin, I have no idea but it’s below):

Mohd Yusuf et al., “Eco-Dyeing of Wool Using Aqueous Extract of the Roots of Indian Madder (Rubia Cordifolia) as Natural Dye,” Journal of Natural Fibers 10 (March 13, 2013): 14–18.
George B. Kauffman, ed., Coordination Chemistry: A Century of Progress, vol. 565, ACS Symposium Series (Washington, DC: American Chemical Society, 1994), accessed February 18, 2021, https://pubs.acs.org/doi/book/10.1021/bk-1994-0565.

Phew, okay.. still with me after the brief foray into chemistry? (If you’re interested, the handout for my class on dye molecules can be found here. If you have a virtual event you’d like me to teach it at, just ping me.)

At the end of the day, if you have madder, munjeet or wild madder, you’re getting a dose of very similar dye molecules and just enjoy the ride. All of them function pretty similarly, and the reds are just so much fun to work with. I have an experiment in progress comparing R. tinctorum with R. cordifolia, through a collection of exhaust baths, so look for that coming soon!

Bibliography:

Hofenk de Graaff, Judith H., Wilma G. Th Roelofs, and Maarten R. van Bommel. The Colourful Past: Origins, Chemistry and Identification of Natural Dyestuffs. London: Archetype Publ, 2004.

Dean, Jenny. Wild Color: The Complete Guide to Making and Using Natural Dyes. Rev. and Updated ed., 1st rev. U.S. ed. New York: Watson-Guptill, 2010.

Cannon, John, and Gretel Dalby-Quenet, eds. Dye Plants and Dyeing. Repr. London: Black, 2002.

Yusuf, Mohd, Mohammad Shahid, Shafat Khan, Mohd Khan, Shahid Salam, Faqeer Mohammad, and Mohd Khan. “Eco-Dyeing of Wool Using Aqueous Extract of the Roots of Indian Madder (Rubia Cordifolia) as Natural Dye.” Journal of Natural Fibers 10 (March 13, 2013): 14–18. https://doi.org/10.1080/15440478.2012.738026.

Kauffman, George B., ed. Coordination Chemistry: A Century of Progress. Vol. 565. ACS Symposium Series. Washington, DC: American Chemical Society, 1994. https://doi.org/10.1021/bk-1994-0565.

Water quality and your dye pot

I’m in the depths of getting wool skeins dyed, and don’t have any of that ready to show to the world yet. Its a lot slower and more complicated to get from water sample to dyed wool when taking measurements at every step on the way, but it’ll be good in the end. Hopefully I can remember to stir the next batch more so they are less blotchy. <sigh> But I digress! There’s three main things I’m looking at in the water: pH, Total Dissolved Solids (TDS) and iron content (ppm). Let’s have a chat about each of those in turn and today we’re going to chat about pH. There’s a lot of complicated chemistry involved in water, and there’s quite a bit of interplay between all three (and temperature, and and and).. I mean, you can get a whole university degree in water, so know that we’re aiming for broad strokes here and big picture.

The pH Scale of Common Chemicals

The one that most people are familiar with on any level is pH, the measure of how acidic or basic something is. It’s measured by looking at the free hydrogen ions (H+) in the solution. (Inversely proportional, as a note: More hydrogen, lower pH.) It’s a scale that runs from 0-14, with acidic things down low and basic things up high. Pure water is the control, and it sits at 7.0. A few things people don’t realize (or remember from high school chemistry) is that the scale is logarithmic, which basically means that the distance (or number of hydrogen atoms) in going from 7 to 6, is not the same as the distance from 6 to 5. There’s 10 times as many in that second chunk. That’s trivia level content more than super relevant to anyone reading, but if you ever wanted to try and count hydrogen atoms.. well we can talk about new hobbies, hmm?

When reading the WHO Guidelines on drinking water (1) , a pH anywhere from 6.5 to 8 is considered acceptable. Pure water, remember, hangs out at 7 exactly, but there’s a lot of elements that affect the pH without making the water undrinkable. All of us who lived through the pollution filled 1970s and 1980s remember the screams about acid rain and how it was melting away everything, I think. Pollution can affect the pH of water, but by the same token, most ground water has absorbed enough minerals that it slides itself a little higher on the pH scale. (And you pay extra for all those minerals at the store when you buy spring water.. s’okay, they are generally what makes water taste better. Distilled water always tastes flat and weird.)

So clearly everything below 6.5 and above 8 is dangerous, right? Well, not so fast. Where it gets more complicated is that pH alone is not an indicator of safety. Common household vinegar has a pH of approximately 2.8, which is extremely low.. in the same range as stomach acid, but we think nothing of ingesting vinegar (ideally on a nice hot plate of fries.. mmmm.) It is a weak acid, a well diluted acid, generally sitting at about 5% strength. If it was full strength, it would be very dangerous indeed!

Further complicating matters is how pH and other measures interact. pH is extremely dependant on temperature (not much of a consideration for me, all of my samples were at room temperature), and the pH of water can determine its tendency to have picked up other ions. As the pH gets lower, the metals are more soluble.. they dissolve more easily in the water, so there tends to be more lead, copper, iron etc in water that tends towards the acid. We’ll talk more about metals in water when we have a better look at the iron testing that I did and how that affects the dye works.

Water chemistry is complicated and while I knew it was a big field to go poking into, it’s been a fast train into the depths. It’ll take a lot more digging to get myself out of these weeds.

References

  1. World Health Organization – pH in Drinking water (2007)
  2. Safewater.org TDS and pH (2017)
  3. Health Canada – Guidelines for Canadian Drinking Water Quality: Guideline Technical Document (2015)

Natural dye gear

Today, we’re going to talk about gear. Most posts are about how little you can get away with as not to scare off the beginners, and those posts are amazing! (A pot dedicated to dye work, a couple of spoons, a scale. That’s pretty much the minimum. Go forth and be awesome.) This is not that post. This post is about the gadget fond dyer, the one who likes too much information. The water project (I talked about it back in this post.) is pretty much using all of my fun gear beyond the basics, so let’s have a look at what I’m using there.

Alright, let’s break this down by bits. The first thing we’re going to talk about is the weird cylinder thing at the top of the photo. That is my sous vide. It is basically a very fancy aquarium heater, capable of holding a pot of water at a specified precise temperature for a very long period of time. When I am doing large sample sets, I put my samples in jars and then place the jars in a water bath. That lets me do 10 or more samples at a time.. which is a whole heck of a lot faster than one at a time! It is not fast, I will say that about water bath dye work. It takes a lot longer for things to get to temperature than it would if I plunked a pot on the stove, but I also can walk away for hours and know that it will hold at exactly the temperature I’ve set it for, because that is literally what sous vide appliances do. (Not shown: The plastic bin I plan to use to hold my water bath. It’s a short rubbermaid tote. You all know what those look like. Also not shown, the glass jars that hold each sample. They are clean spaghetti sauce jars. You also all know what those look like.)

In the second row of things, starting from the left is a tube of iron test strips. (For things I got off Amazon, I’ve linked to Amazon. No affiliation, no kick backs, no promises that I picked well.) These measure soluble iron, so the Fe molecules that are hanging around waiting to cause trouble (aka react) with things we dye with. They measure in parts per million (ppm) and while I am not fond of colour compare (more on that with the pH strips), they’ve worked fairly well for me in other experiments to this point.

Next in the lineup are my pH strips. This was not the plan. I have a perfectly nice pH meter, acquired from the brew store, and I was all excited to use it. Except that the probe got damage (poor storage at the store mixed with no better storage at my house.. it’s fubar). That’s fine, this pH meter has a replaceable probe for exactly this reason! Probes do not last forever, this is a known thing! Awesome! Oh wait.. it’s only available (right now) in Australia, from a company that does not ship outside the country. Chatting with the Canadian distributer, he asked me to call him if I found any in Canada that he could get his hands on. Right. Thank you supply chain issues. No pH meter. Alright then, pH strips it is.. I hate them. I find them hard to read, the colours are hard to distinguish, and I eternally question their accuracy. Better than the nothing I was facing, but know I am not in a happy pH place.

Next up is my newest gadget.. a TDS meter. Total Dissolved Solids, basically it gives a measure of the hardness of one’s water by looking at the conductivity. Salts and minerals increase the conductivity of water, and so can be measured. Does it tell you WHAT salts and minerals are there? Nope, it sure doesn’t, but it does give a general idea on how much. Not a perfect measure, but gives us a ball park to play in. Which is, honestly, not half bad for kitchen chemistry. I am not set up in a lovely lab with a handy procurement clerk down the hall that I can go request all the bits my heart desires from.. I have amazon and my kitchen. So we’ll manage.

I’m going to hope that everyone reading recognizes a basic thermometer. It clips on to the side of a pot, and lets me keep an eye on the temp of the dye bath. You can tell that it’s seen hard use based on the colour, but it still works fine.

Last but by no means least, are my scales. They are the overlap between basic kit and this one and yes, there are two pictured there. The bottom one measures in grams, and is crap less than about 10 g, but can manage a chonk 7 kg. The top one is my delicate little scale, it measures 0.00 grams, and gets the vapours if you go over 200g. When you work in sample sizes, the tiny little scale is a necessity. (A 6 gram skein would want about 0.6g of alum. None of this is possible on my chonk scale, but the teeny one thinks this is /fine/.) Everything else is fun information gathering, the scales are required equipment.

So there you have it, the extras that I’m growing fond of (other than the pH strips, those are a necessary evil). Questions? Comments? Let me know some of your favourite gadgets!

Water, water, everywhere!

My first major project for 2022 is one that I’ve wanted to do for a long while, and I’m getting a whole lot of help with. How big of a difference does water source really make in one’s dye projects? Well! I decided to experiment with that premise, and asked people to share a water sample from their house. (And barns, streams, lakes..) My reenactment group is very generous and now I have water samples from all over the province, and beyond! 60 samples! I was hoping there’d be 20 or so, I certainly have my work cut out for me.

A messy studio made messier by a lot of bottles of water.

The basic experimental premise is very simple. Keep all the other variables steady (or known at least) and have the water as the main variable. Measure as much as I can about each water sample, to have some idea on what it contains, but then keep the dyestuff, the method, the fibre, the mordanting.. all of that to be the same so that differences can be safely assumed to be because of the water.

Which dyestuff to choose was an easy one. Madder is delightfully reactive to changes in water hardness, and pH and generally is a bit of a fussy goose, so it’s perfect for this. I got a nice big container of R. tinctorium, so that all 60 samples can be taken from the same batch of powder. Natural dyes are variable in and of themselves, from one batch to the next. The growing conditions, the soil, how the plant was handled and the dyestuff extracted all can affect the dye that I’ll be using, so at the very least, this one container should be relatively homogenous, even if multiple batches of madder went into it.

Fibre was also a no brainer choice. I’ve worked up small skeins of 100% wool yarn, all of which has been mordanted at 10% wof with alum. Basic, easy, nothing fancy going on here. Wool and alum. Done and done. The skeins aren’t quite perfectly consistent, they range from about 5 and a half grams to about 7 and a half grams, but I’m willing to be ‘close enough’ on that one.

Grocery bins are eternally handy.

I’ve had very good luck with using a water bath to keep my temperatures very consistent, as of course madder is also sensitive to what temperature it’s dyed at. Basically a large tub of water is heated with an immersion heater (sous vide gadget, I do love you and not just for steaks), and each dye bath lives in its own glass jar within that tub of water. I used this method for one of my earlier madder experiments and it worked a treat. I will have to work in batches, as I can’t fit all 60 at once, but good technique should keep that variable to a minimum.

Then it comes to the water itself, and there’s lots of it. The plan is to grab the pH, the iron content and a general measure of hardness (Total Dissolved Solids) from each sample. This should give me a moderately good idea on what’s going on in the water itself. I will admit freely that it is not ideal that the water has now sat for a good six weeks before I’ve gotten to working with it. (Thank you holidays and general life challenges.) Stale water means that I’ve lost most of the volatile compounds that would have been in it, and any that were treated with chlorine (rather than chloramine), that’s absolutely gone. Some of the unfiltered water has sediment that has settled out while it’s sat, and while I do plan to give each a shake before I measure it, it’s not quite the same as fresh. Still, this is what I have, and the reality of collection means that there was always going to be some sitting time before I used it. So be it, we’ll manage.

So expect more on this project in the hopefully near future! I think I have all of the pieces in place now, so it’s just a question of getting to the doing part.

Looking back at 2021

I realize that the vogue thing to do was to have written this a couple of weeks ago, but 2022 has been a slow and gentle easing into the year. More like the painful creep into too cold lake water for a swim rather than the enthusiastic cannonball of getting it all over with at once and then shivering for 15 minutes. So midway through January, I’m just about ready to consider what, if anything, I managed to accomplish in 2021. (Spoilers: It didn’t feel like much, but there were a few things here and there).

First off, full disclosure time: No. I have not yet finished all 12 samples for my 2020 sampler of embroidery styles. I got stalled at nine, and my brain has just been absolutely rebelling at the notion of those last three. In theory, two of which are my favourites (open work and needle lace). I know I hate lacis (so far), but the other two should be a delight, but I’ve had a pattern on my desk for 4 months for a needle lace piece and not even a hint of enthusiasm, just dread. So I’m accepting that reality and we’ll see when it gets done. That’s okay. Life is heavy right now, I don’t need to be a harsh taskmistress upon myself, so it waits.

I did a lot of SCA teaching in 2021 on zoom. Mostly dye classes, a class on saponification (the chemistry of soap making), round tables and discussions. I acted as moderator and TA and general helper all over the place online and it was good. I should do that again. I’m still mad that I missed the deadline to sign up to teach at University of Atlantia this winter, but that’s besides the point. I taught at least seven times in 2021, and in at least 6 kingdoms, which is not half bad, really. Only possible via online events, I would be hard pressed to get to six kingdoms in a year (our most in our craziest travel year was 5.) I’m expecting 2022 to look much the same, provided there are online events to be had. We shall see.

When I went tallying up my finished objects for 2021, my list got to 20. I’m hoping I forgot at least one, so that I can happily claim 21 FOs in 2021, but it’s not the most complete list. Highlights.. I’m very proud of two different projects where I started with plain white silk and dyed all the colours I needed and then worked the project. One was a knit heraldic pouch for an exchange, and the other was leafy trim for a friend’s laureling outfit. (Yes, even the underdress that no one saw had hand dyed silk trim.) A good mix of modern sewing, medieval sewing, modern embroidery, medieval embroidery and a lot of dye work. I kicked myself into making an effort to try new things. Some of which I enjoyed very much, a few of which that I learned that I don’t like it at all. Both pieces are important information. I expect 2022 to look much the same really.

I’ve plans for 2022, a big dye project, some sewing .. currently a lot of nebulous uncertainty that fits well with the copious amounts of nebulous uncertainty swirling around the world in general. I do hope to share more projects here. Let’s see what the future holds! May it be colourful and gentle.

April is for Padded Work

I was vaguely musing on what to do for the Padded Work category of the EK Embroidery guild samples. The usual is stumpwork, which while it can have some padded work, is best known for being exceptionally fine work, usually with a wired edge so that it can be posed in 3D. It’s gorgeous, it’s fussy, it’s tiny fiddly work and while usually that is 100% my jam, I wasn’t feeling it. There was a ton of meh about doing a stumpwork piece.

Then, at a panel, someone had done a trapunto piece, and it was gorgeous and simple but elegantly so, and someone in chat noted about the Tristan Quilt being in period and I had a ‘where have you been all my life’ moment.

Just one panel!

So, some back story. The Tristan Quilt is how its most often referred to, but it is probably better referenced as the Guicciardini Quilt, as it is suspected that it was made for the Guicciardini family of Florence, and figures in the quilt (Tristan) bear that family’s arms. It is a bed covering that was made between 1360 and 1400 (or so), with the story of Tristan and Isolde quilted into it in many panels. It’s monochrome, dark brown thread on cream coloured linen, and is enormous. The chunk at the V&A is 320 cm x 287 cm (126″ x 113″) , the chunk at the Museo Nazionale del Bargello in Florence is 238 cm x 207 cm (98″ x 81″) and there’s speculation of the missing bit being as large as either of those chunks, or possibly a little bit larger. (For reference, a modern queen size mattress is 60″ x 80″) and current research speaks to them being part of one giant quilt to start, and hacked up in later eras. (Randles) They are the oldest surviving examples of decorative quilting in Europe, and I fell in love.

Dude and his spotted horse.

So! I had my inspiration piece, and then I went hunting through online images to find a wee bit of the giant whole that I wanted to add to my samples. I considered the horses, but once they were down to something that fit into a 6″ x 6″ square, they were too small to stuff with any sort of interest. Then I found the fish. And well, that was that. Fish it was to be!

Fishies!

I chose a natural oatmeal coloured linen for my backing fabric, and then took some linen embroidery thread (conveniently stranded for me) and dyed it with an unholy combination of iron, pomegranate, walnut and padauk to get a fairly good dark brown. Not quite as dark as I wanted, but good enough.

Dyed linen thread

While a lot of trapunto is done by either cutting, or teasing apart the loosely woven back fabric to shove your cotton, or wool, batting into the stuffed sections, and then adding a backing, the original was not done that way. The stitching is shown on both sides, and the back fabric is as tightly woven as the front, so it is speculated that it was stuffed as they stitched. I went with that tactic on my fish as well. While there is no indication of traced out lines on the original, I have no illusions about my artistic skills and used modern washable fabric marker to trace out my fish and some background squiggles.

The blue is so startling. I promise it will all go away.

Being a ‘stuff as you go’ experience, it makes the most sense to start in the middle and then work your way up and down. So fish first! Stitch an area, add wool fleece (the original was cotton, I’m using wool because it’s what’s in my house.), shove fleece to where it’s supposed to stay, stitch more. Then add some details on top, and shove more fleece in. It’s a fairly basic procedure, all in all, if a little fussy to get the fabrics to stay relatively flat, with the fleece not spilling too far.

Fishie backside.

The stitching, even with fighting with fleece, went quickly. I used a basic back stitch throughout, and it was really a satisfying experience. I can utterly see why they’d choose something like this for a giant area, it is pretty zen and works up pretty fast.

A hem around the edge and then a quick bath to get rid of the marker and then voila! Fishy, fishy, fishy, fish!

All done!

References:

Randles, Sarah. “One Quilt or Two? A Reassessment of the Guicciardini Quilts.” Medieval Clothing and Textiles, Pp. 93–128. Accessed April 30, 2021. https://www.academia.edu/4523166/One_Quilt_or_Two_A_Reassessment_of_the_Guicciardini_Quilts.

Alum experiment

The lovely folks over at Natural Dye Education FB group, mostly the group’s fearless leader from Mamie’s Schoolhouse, put forth a challenge after watching a talk at the Natural Dye conference in 2020/2021 about alum not being absorbed out of the water quite as much as we think, and so clearly we had to try it. If you want to read about the results from the whole group, she has a collective blog post about it.

The premise was to use 7 identical skeins of wool, and one pot of mordant water. That water held 7% wof (weight of dry fibre) of but a single skein. So the first skein of wool into the mordant bath got a full dose of alum. Then, without topping up any alum in that pot, the next six were mordanted (and labelled!) in succession. So, in theory, we would have no alum left.. somewhere in that chain. All 7 then went into a dyepot, all at the same time, such that they would get the same dye exposure and show up where the alum stopped. So the theory went. It was left up to the dyer on what dye they wanted to use, but alum and wool were consistent for all of us.

This is not spaghetti.

I used madder (because of course I did), and had dug up some bulky weight wool yarn out of the depths of the stash, each 55g. (Except for the 2 that I mismeasured and ended up 65g. whoops.) So because my skeins were (mostly) 55g, a mere 3.85g of alum went into that giant pot of water. I kept each skein at a simmer for about an hour, and then hauled it out hot and let it cool, unrinsed. Eventually there was a giant pile of damp wool.

Cleaned out pot and and fresh water and in went 100g of madder. I had a grand plan of containing it in a little cloth bag so I didn’t have to rinse out madder dust for days, but my bag wasn’t big enough once the madder started expanding on getting wet, so that was abandoned early and I resigned myself to a million rinses later. (Dear Future Me: When you do this again, let the skeins dry after you pull them out and then whap them on the deck railing a whole lot to get most of the madder out that way. You’ll be much happier, you’re welcome.) That sat on the stove at not quite a simmer, about 70 – 80C for a couple of hours.

Top: Most Alum Bottom: Least Alum (plus bonus silk skein)

In goes all 7 skeins at once, and those got to sit around at not quite a simmer (80 – 90C) for another couple of hours before the heat got turned off and everyone went to bed. The skeins in the dyepot, and me.. well.. in bed. Next morning, rinse (and rinse and rinse and rinse and rinse) and plot what else is going in that pot of still dark red dye liquour. The exciting thing here is that in spite of there being successively less and less alum on these skeins, my 7 skeins are functionally identical. Now, madder is a dye that will take without a mordant, but not usually quite this dark and strong, so clearly more experimenting is required. (Oh /darn/, I’ll have to do more dye work. Such a tragedy. 😉 )

Well! I have more of that stash wool, so I grabbed another 600g of it, got that mordanted up (10% ish) and in it went to the same dye bath as the last batch. The madder bath was on a roll! The first 300g were still pretty solid colours, but by the last 300g I was getting pretty pale pinks and I was not in the mood to slowly simmer it down enough to bother storing it, so I called it there. Currently the big bulky wool is telling me it would like to be a stripy big thick sweater, but we’ll see how long that lasts. I’m not very good at using up the bulky yarn in my life, although I better start using up more of my dyed yarn, or I’ll be overrun!

Exhaust baths

Padauk experiment redux

When I wrote about my experiments using padauk wood shavings and isopropyl alcohol (rubbing alcohol) vs ethanol (vodka), there was a great conversation (mostly on FB alas) about it all. Those very same people who prompted me to do the first set of experiments, of course, had more questions. As did I! The main question that came out comes from how much distilled alcohol differed from fermented. So we (I) decided to do more playing.

The obvious one is concentration. Vodka starts out at 40%, my ale was 4.2%. (I brewed the ale in the last post, it’s not worth drinking, don’t be sad that I soaked wood in it. Better than it deserved really.) I finally remembered to soak some of the padauk in water, as I hadn’t done that in the last one, having done it before, but I don’t think I’ve ever proven to you, gentle readers, that padauk does basically nothing when soaked in water, so I figured I’d prove it.

Turkey basters are very scientific

The four jars are 5 g of padauk soaking in water, vodka, the ale I brewed and then.. just to be careful.. the ale that I brewed having been filtered through some butter muslin (good quality cheese cloth) that I stole from my cheesemaking spouse. It changed not a whit, nor was there any residue on the cloth, so it felt like an extraneous step. It sat for a few weeks at the back of the kitchen counter, largely being ignored to be honest, but not protected from light or anything, and kept at basic room temperature.

Eventually, I got off my butt and skeined off more silk, and got it mordanted with 10% alum. (Eventually I’ll write up more detail on that process, but honestly, it is barely exciting enough to get mentioned, let alone a whole post about it. Still, I’ll add it to the list.)

I usually dip a bit of paper towel into these dye baths just to see how much colour sticks there, it’s not a perfect indicator on how the dye bath is going to go, but you get the disappointment early at least. Rarely do you get no colour on a dip test and plenty of colour on your skein. Sometimes you can get pretty good colour on the dip and not great on the skein, so there’s opportunity for disappointment certainly, but it’s a good first guess.

I decided that I would dye all four at once in a water bath, as I just was not invested in working up four dye pots. Basically that means that each dye was in a jar, and that jar was in a large pot, filled about halfway up the jars and the whole thing heated on the stove. I do most of my dye work hot, I don’t have the patience (usually) to leave something for a couple of months at room temperature to let the reaction happen slowly. I generally want it now now now!

In this case, the dip test was a pretty good predictor. The water soak got my silk from white to vaguely beige. I had such high hopes for the ale soaked padauk, but the dip test tempered my expectations pretty solidly. It’s coloured at least, but not by much. Well sigh. The vodka was as an awesome a colour as ever, better this time for the longer soak!

Vodka, water, ale, filtered ale

Distilled alcohol is still the king of extraction, the fermented side of things is letting me down here. At this point, I am out of padauk to play more with it as my dyestuff, but I’m not yet out of alcohol extractions to experiment with! Suggestions welcome on the next dyestuff to include. (Must not extract well in water, must extract well in alcohol.) I am also on the hunt for any sort of historical context for alcohol extraction of dye. I’ve only really started poking there, but if you have a lead on it (pre-1600 please!), let me know!