Inspired by Engineering Knits over on her youtube channel, I couldn’t help myself but go spend a little time in the late 19th century and knit myself up a coffee sock. Okay, so the pattern calls it a ‘knitted coffee strainer’, but coffee sock has such a better ring to it. Reusable coffee filters are not even a little bit of a modern invention, and a knitting book from the 1890s included a handy pattern. Engineering knits decided to be sensible and knit hers from a worsted weight cotton so that it would go more quickly. I am not so smart. I did, however, take a step up from the tiny size 10 crochet cotton up to the 16/2 weaving cotton, that’s something right?

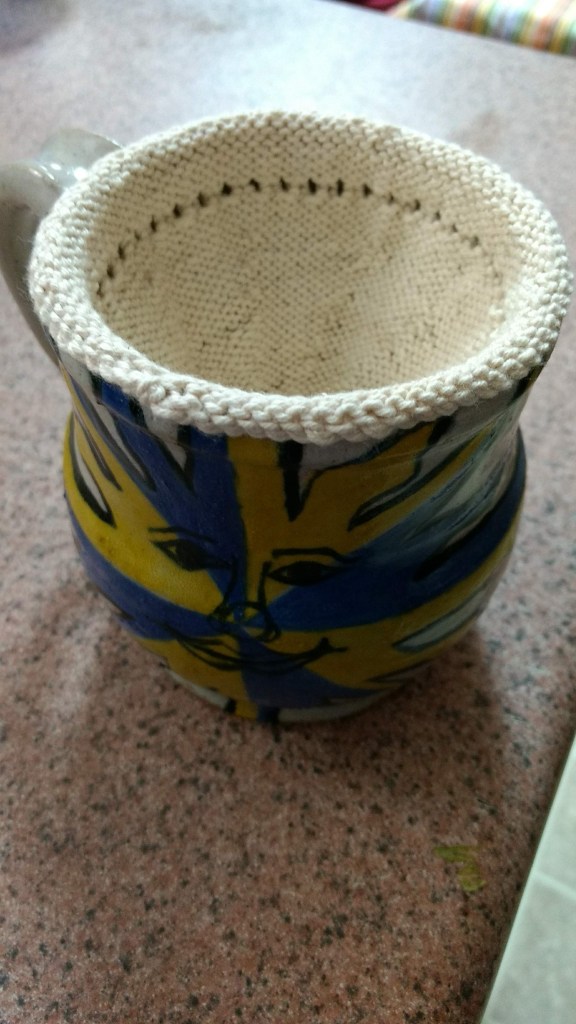
The pattern calls for 124 stitches, but as I have neither a fancy 19th century coffee carafe, nor a desire to go back to the crochet cotton that might give me that gauge (it has no other measurements, perhaps the coffee carafe is huge, and my yarn is right? I suspect not.) and I’m trying to fit it into my beloved giant mug, I have 80 stitches on 2 mm needles. Knit a while, then do a row of holes to thread around a wire, then go back to knitting. And now? It’s a sock. Well at least a sock toe for someone with a very pointy foot. Knit around and around and around, decreasing as you go until it’s a cone. I ultimately decided to decrease 8 stitches (evenly spaced) every 3 rows, which would give my coffee sock a very rounded cone shape. I was aiming to have it fit in a coffee cup, not a tall skinny pot, so that suits my needs well.
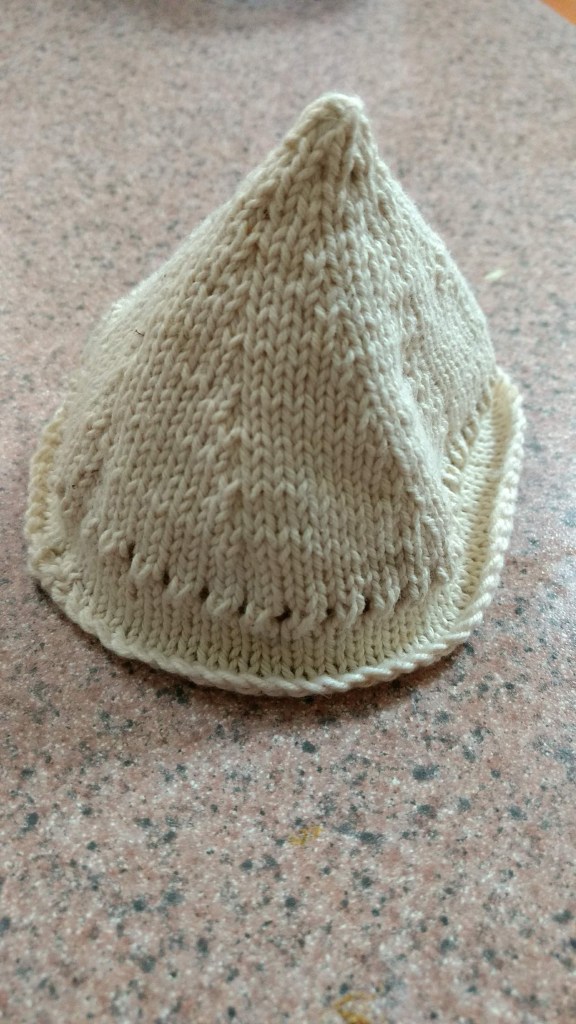
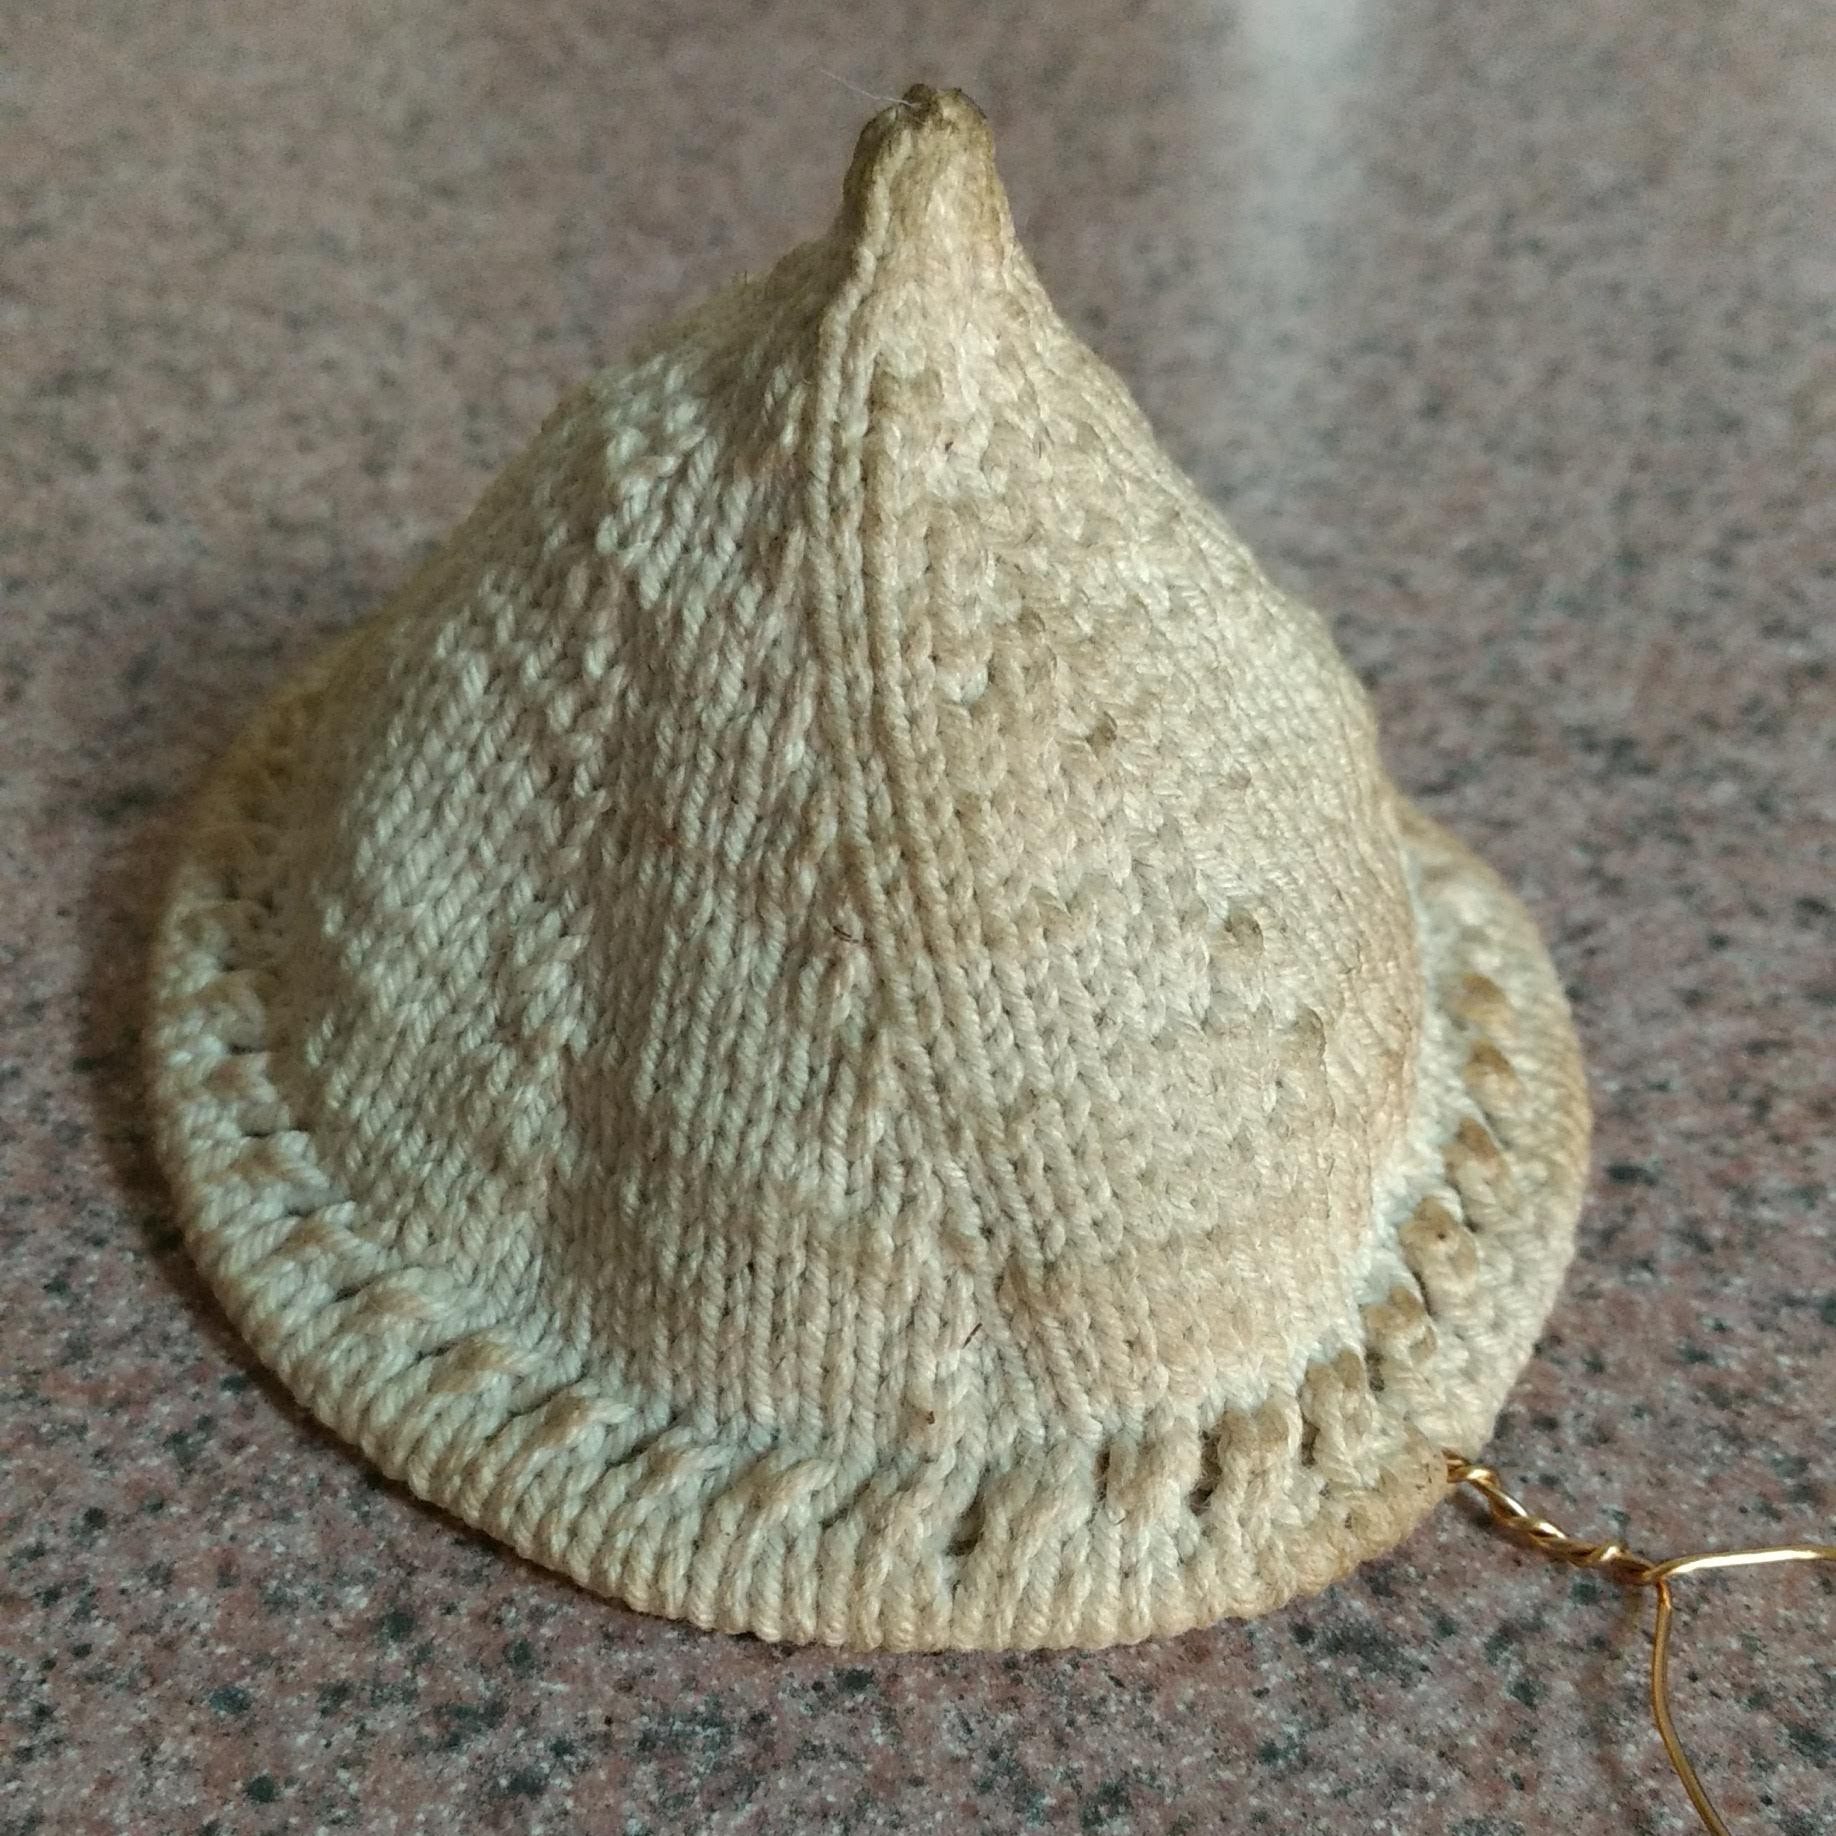
In working it, and in playing with it for a while afterwards, the pattern never says to put the wire through the holes, the pattern actually says to hem down to that increase row, but as with most vintage patterns, lets you M1 however you see fit. I went for a yarn over, but there’s no actual holes in the picture, and the metal ring appears to have been based right to the top of the hem. So score one for assumptions. They do specify that they are only decreasing 3 stitches every 4 rows, which is why the picture is quite a bit longer and pointier than mine. To be expected, I am basically making a mini one.
I went and dug out some brass wire (in an effort to minimize the rusting of this), but its a little softer than I’d like, still. I hemmed that in, and gave it a try. Forgive the videography of the clip, no one in this house is especially good at filming.
For those who don’t want to watch 2 minutes of coffee pouring, the tl;dr of it.. it works! It works brilliantly, actually. No grit at all at the bottom of my cup, the coffee was nicely strong enough. After it was brewed, it was literally just a nice cup of coffee, no ‘well I’ll drink it because I really should’. I gave it a rinse out with water, and you can see that it’s a bit stained, but it dried fine and doesn’t feel gross or that it took unreasonably long to dry. Pretty much, success all around, other than my wire is too soft to support it full of coffee. Not insurmountable, but that’s the only downfall.

Beautiful! I am wondering how it holds up over time. We bought muslin (?) coffee socks once, and the coffee just isn’t as good as with the Melitta paper filter in the filter cone (“pour-over coffee” I guess they call it now). I received very specific instructions on making filter coffee in the 70s, as people were being weaned from percolaters. Our Australian friend Cliff Hooker said to use French Dark beans (“your greasy French,” he liked to call them) and grind them so fine they almost started to burn, then soak them in the filter paper for a few minutes before pouring the rest of the water in. I have heard since then that the water should be not quite boiling. No peer-reviewed testing has happened, and since I don’t measure exactly, no possibility for peer-reviewed testing. Anyway your coffee looks lovely,
Carol
LikeLike
That is an excellent question! I suppose I’ll just have to keep drinking more coffee to find out. 🙂
LikeLike